FOUR-HOUR HOMEMADE BREAD
While cooking, listen to this: Hurricane Drunk - Florence + The Machine
I pride myself on my intellect. I know, deep down, that I am a smart person. I have two degrees, can memorize large swaths of information, and am really good at applying lip liner. A skill is a skill.
Which is why, when I have particularly stupid moments, I just have to laugh. I say to myself, "Hey girl, it's totally fine that you just shattered that glass baking dish by putting ice cubes in it and then transferring it to a 475 degree oven! You still know so many animal facts!"
Yeah...when a recipe says to use a cast-iron skillet, it isn't a suggestion. Use the cast-iron skillet. Apart from cockroaches, they'll be the only things left after the apocalypse.

Sacrificing my Pyrex to the gods of thermonuclear baking dynamics reminded me that I can't take myself too seriously in the kitchen. Whenever I find myself stressing out about something not looking perfect, or showering my kitchen and oven floors in a cascade of tiny glass fragments, I tell myself that cooking and baking are supposed to be fun. I promise! It really is meant to be enjoyable. Life sustaining, yes, but also enjoyable. Taking the delicious recipes with the ignorance of material sciences is part of the process. I'm reminding myself, constantly, to find joy in the process.
Okay, enough with the zen stuff. I'm back. Alyssa wanted us to make an easy bread recipe for the site, to accompany salads and such, and because eating butter by itself is still frowned upon. We found this great recipe from Food52, and I dove right in. Apart from challah I haven't ever made bread before, but through most of the recipe I was doing great. That was, until the ice cube incident. Since we had to turn off the oven, clean everything up, turn the oven back on and bake the baguettes off, they came out really, well, sad. And weird. Tasted great, looked like a trio of golems. But we got back up on that bread horse and were rewarded with a big, fat boule of bread. Totally worth the experience that came with it.


This bread is perfect for when you want homemade bread, but don't have a sourdough starter, or don't want to wait hours upon hours to be rewarded with baked goods. This recipe has a lot of starting and stopping to let the dough rise, but from start to finish the recipe only takes 4 hours. Think about how many hours it took to make bread in like, the Middle Ages. You don't have to grow and grind your own wheat, or learn what the hell yeast is and how to get it from the air into a package (in case you haven't noticed by now, my specialty is the arts, not the sciences). Make this bread while you're doing laundry, or cleaning your house, or getting work done at home. The 4 hours will fly by and before you know it, you'll have the perfect bread for sandwiches and toast, and it's the best vehicle for butter and jam.
Do you have any kitchen mishaps to share? Tell me in the comments below!
Love and meows, Rina

FOUR-HOUR HOMEMADE BREAD
Yield: 8-10 slices-worth
Prep Time: 15m | Rising Time: 3 hours | Cook Time: 20-30m
Category: Baked, Bread, Vegan
Source: very slightly adapted from Food52
Special Equipment: cast-iron skillet (optional, see below)
Ingredients
1 ½ cups water, lukewarm*
1 teaspoon active dry yeast
3 ¼ cups all-purpose flour
2 teaspoons salt
½ cup ice cubes (optional, see below)
*to activate yeast, you want water at a temperature that you'd feel comfortable taking a bath in: warm, but not so hot that it would hurt.
Instructions
Prepare the dough: in a large bowl whisk together the warm water and yeast, and let sit until it gets all foamy, about 10 minutes. Add the flour, and stir in with a fork until a dough forms and all the flour has been absorbed. Let the dough sit for about 20 minutes so that the flour can hydrate. Add in the salt, and then transfer the dough to a lightly floured work surface. Knead for about 10 minutes, until the dough is smooth and elastic. Clean out the bowl you used for the dough or grab a new one, and lightly grease it. Transfer the dough ball to the bowl, cover, and let rise for about 45 minutes, or until it's doubled in size.
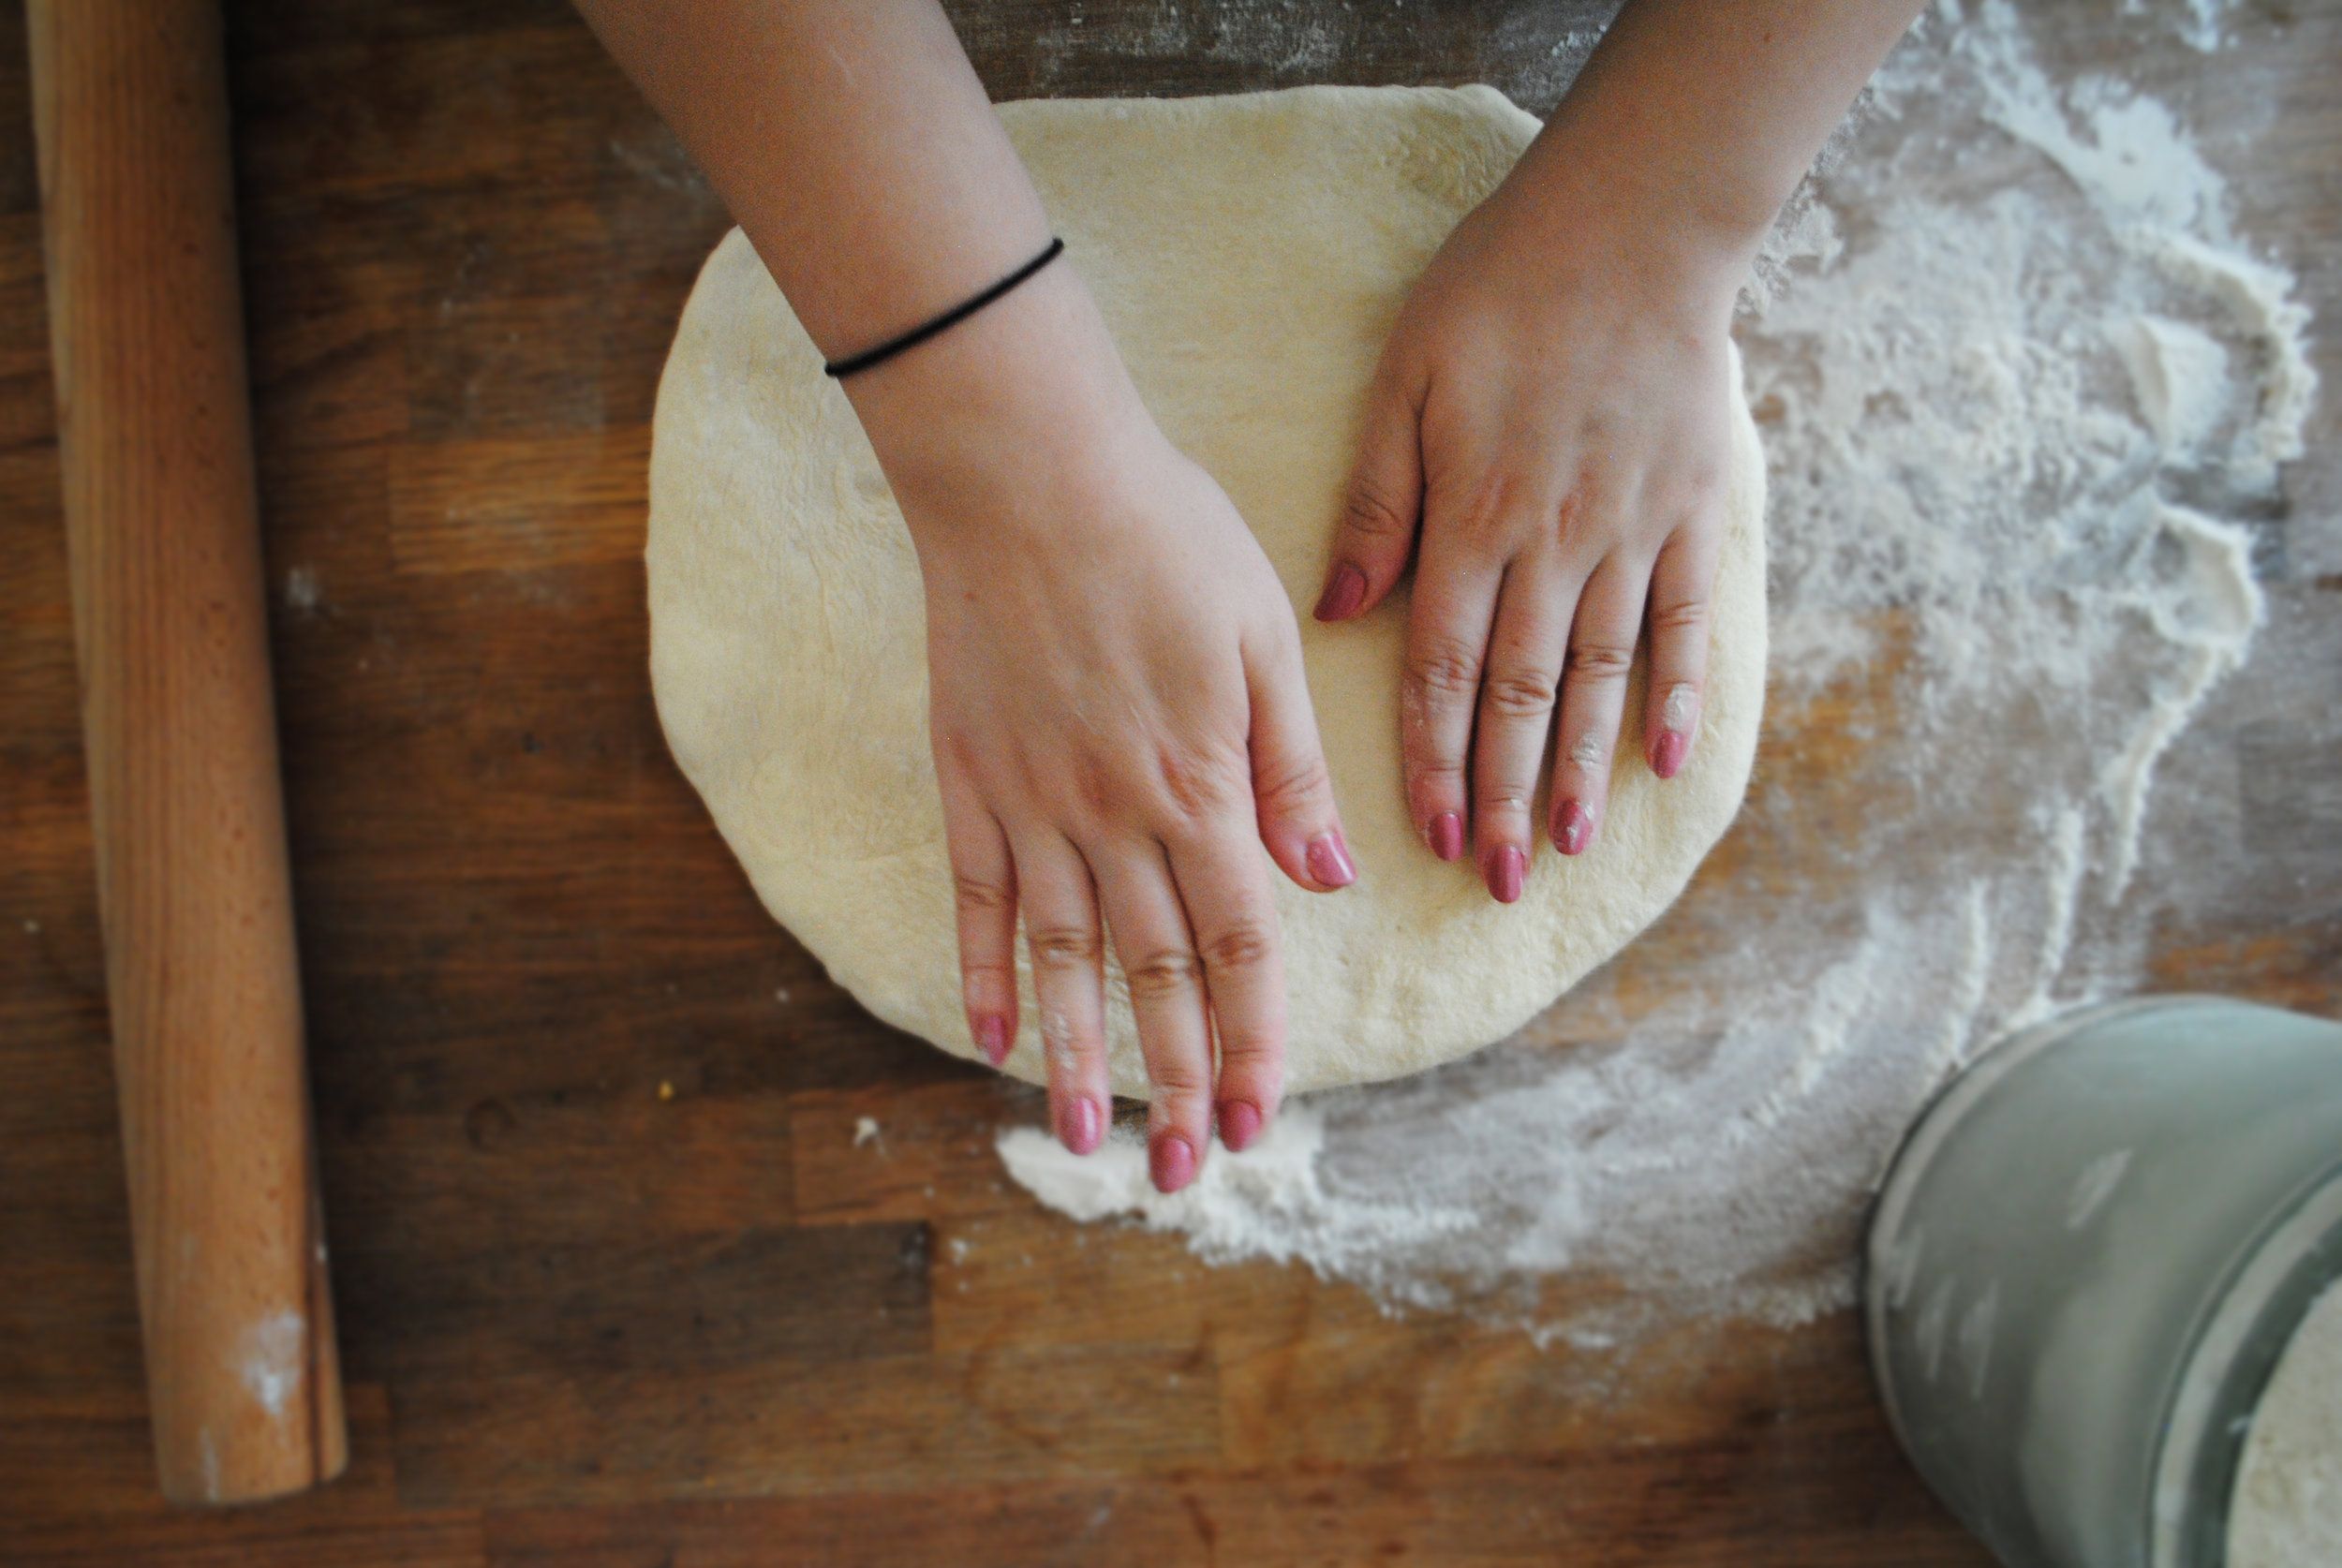
Form the dough: transfer the dough to a lightly floured work surface and shape into an 8-inch x 6-inch rectangle (it doesn't have to be perfect! I'm terrible at geometry). Fold the 8-inch sides towards the middle (see pictures), then fold the 6-inch sides towards the center, kind of like folding a headless t-shirt. Return the dough to the bowl, seam side down, cover, and let rise for about 1 hour, or until it's doubled in size again.
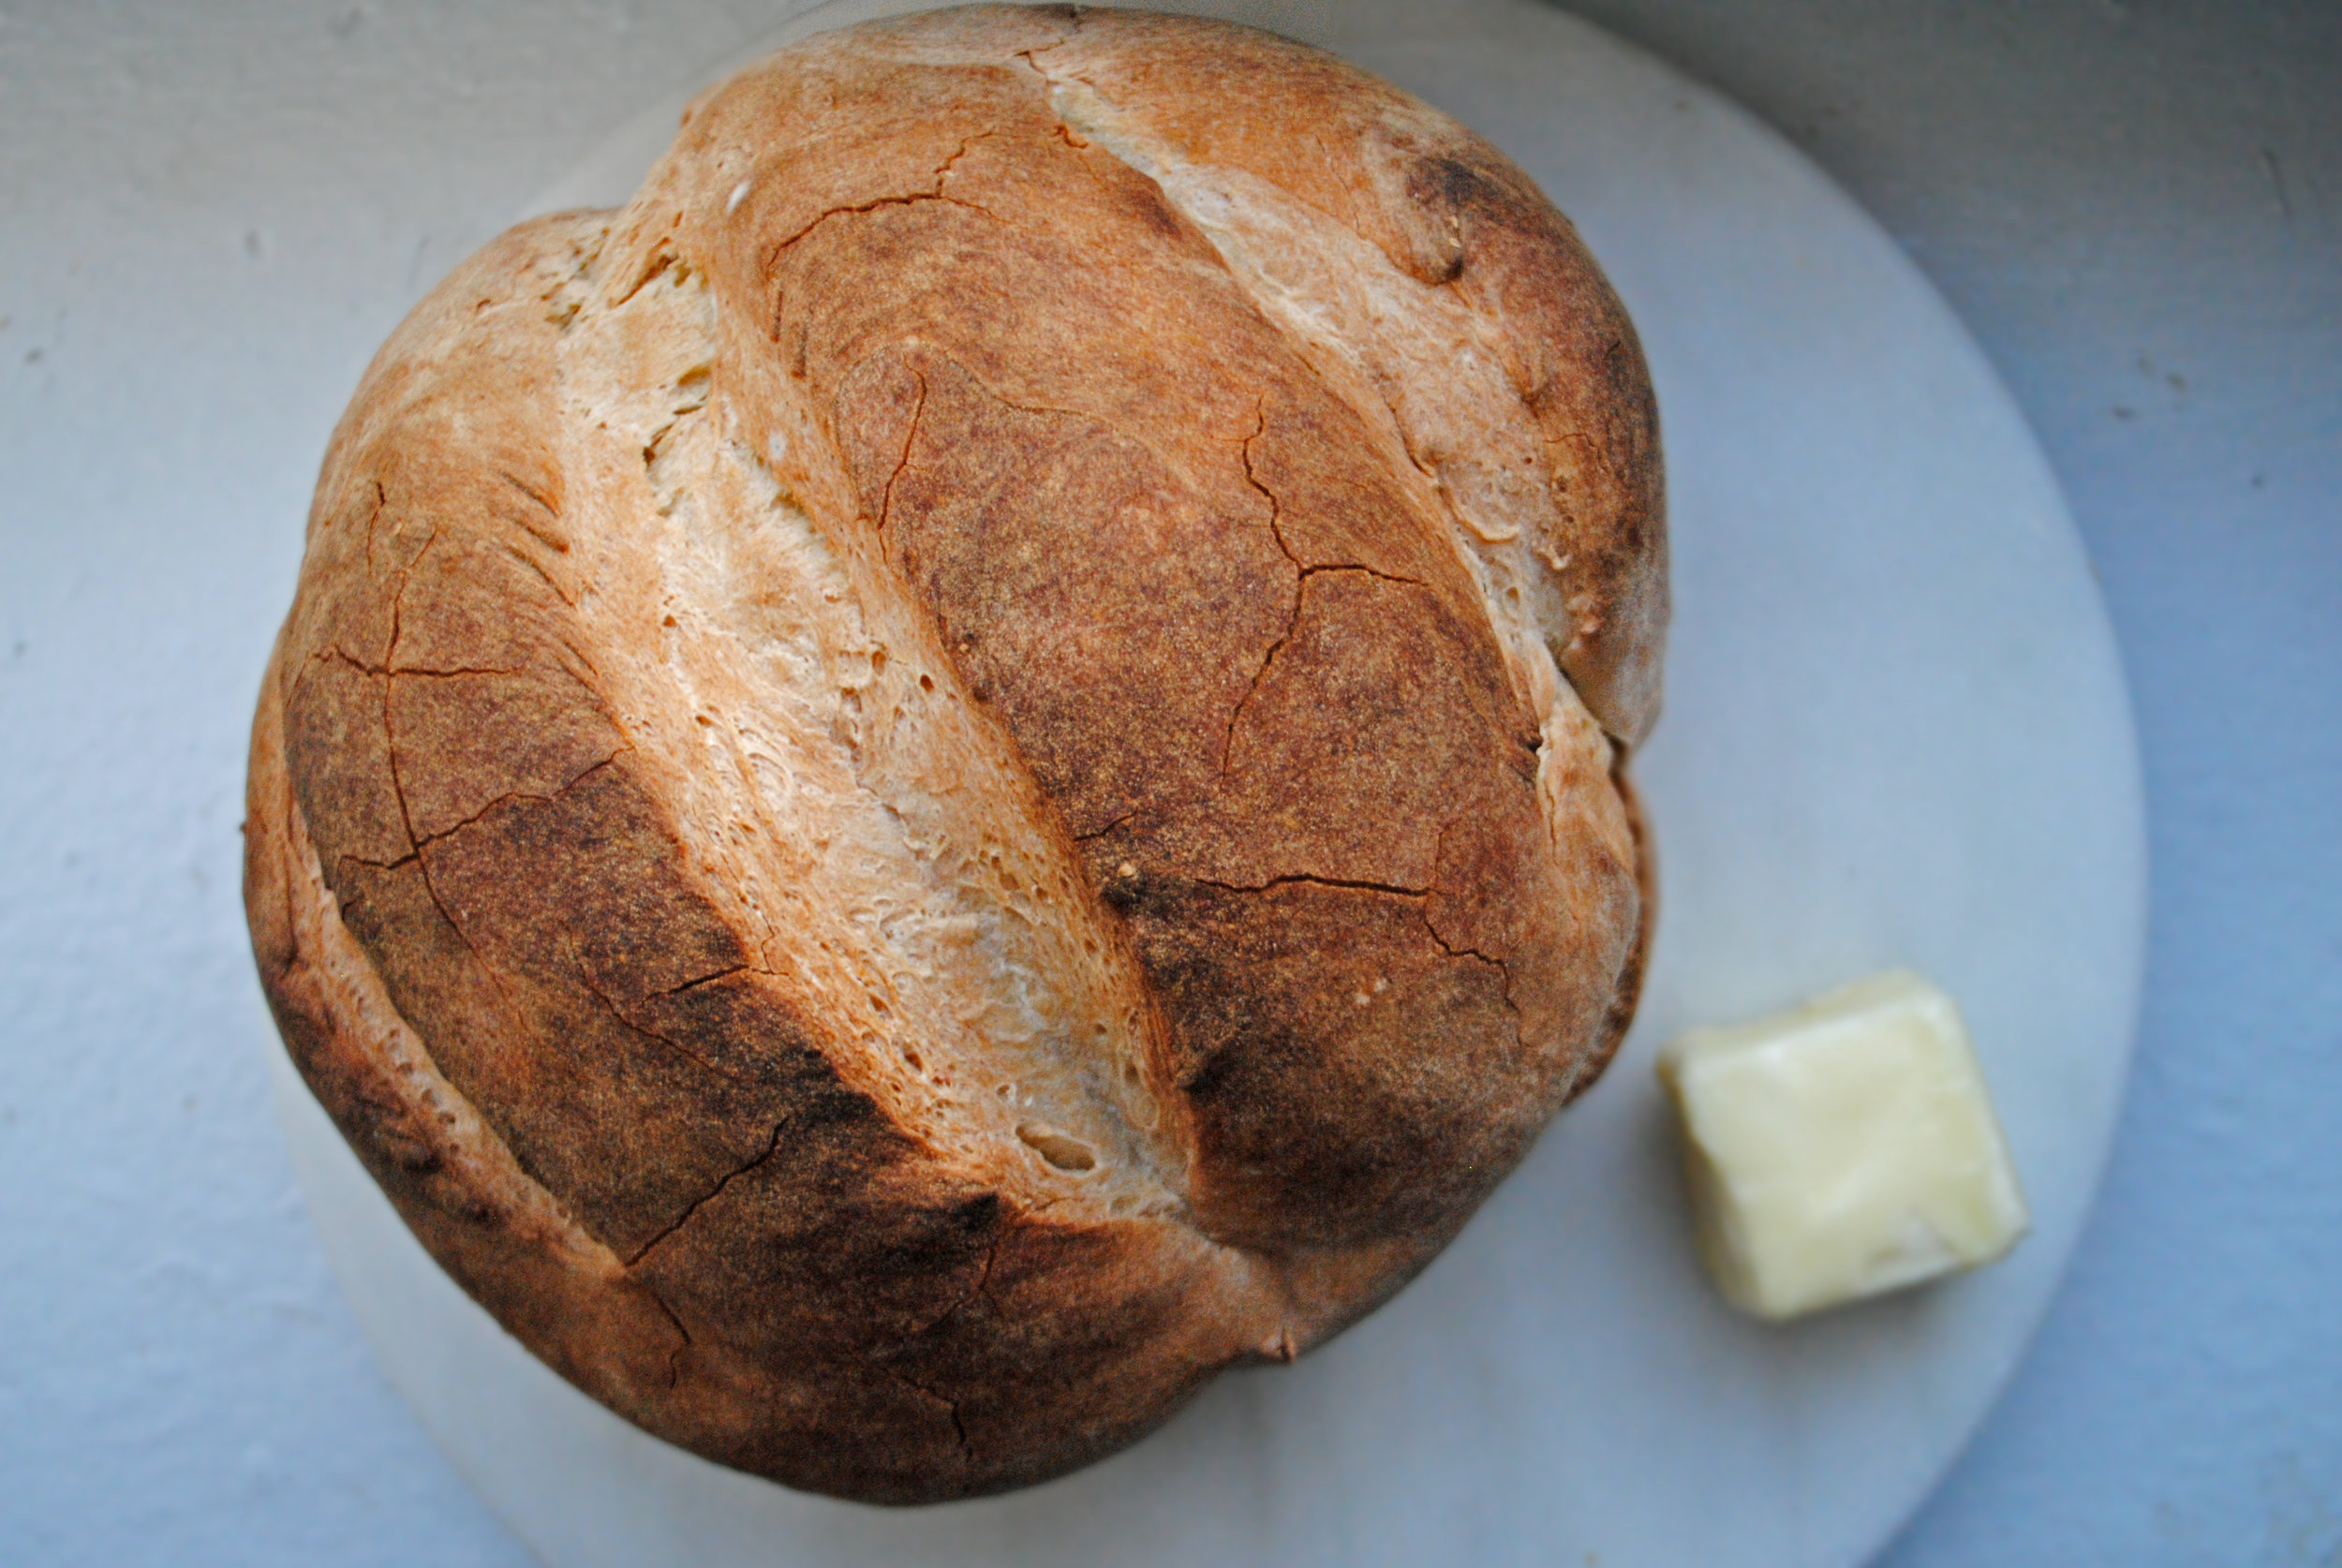
Shape the dough: preheat the oven to 475 F. At this point you have some creative license: I decided on a boule shape (basically a nice blob) because it's easy and, if you read the post above you know this already, the baguettes didn't do so well. If you want to go the baguette route, just cut the dough into 3 equal pieces and form long snakes. If you want to make a boule shape, literally just turn the dough into a circle with your hands. Knead the dough a few times after you take it out of the bowl, then start to turn the dough as if it's on a potter's wheel, making sure you're putting enough pressure on the dough to form its shape. Place your shaped dough onto a baking sheet lined with parchment paper, cover and let rise for about 50 minutes. Then, using a sharp knife or bread lance, make some slashes on the top of the bread for a nice decorative touch. Three or four will do it.
Bake the dough: here is where I really veer from Food52 - I didn't have a cast-iron skillet, and learned the hard way that it's really the only vessel you can use when you want to put ice cubes into a really hot oven. You learn something new every day! If you have a cast-iron skillet, put it in the bottom of the oven and fill with ice cubes. The ice cubes are meant to create steam that will help the bread get that gorgeous crust and color. But your bread will still be pretty and tasty if you don't do this step! Either way, place your bread in the oven, and bake for 20-30 minutes, or until the bread has a nice, golden crust. I put a metal loaf pan filled halfway with water in the oven - I have no idea if it actually did anything but it made me feel better.
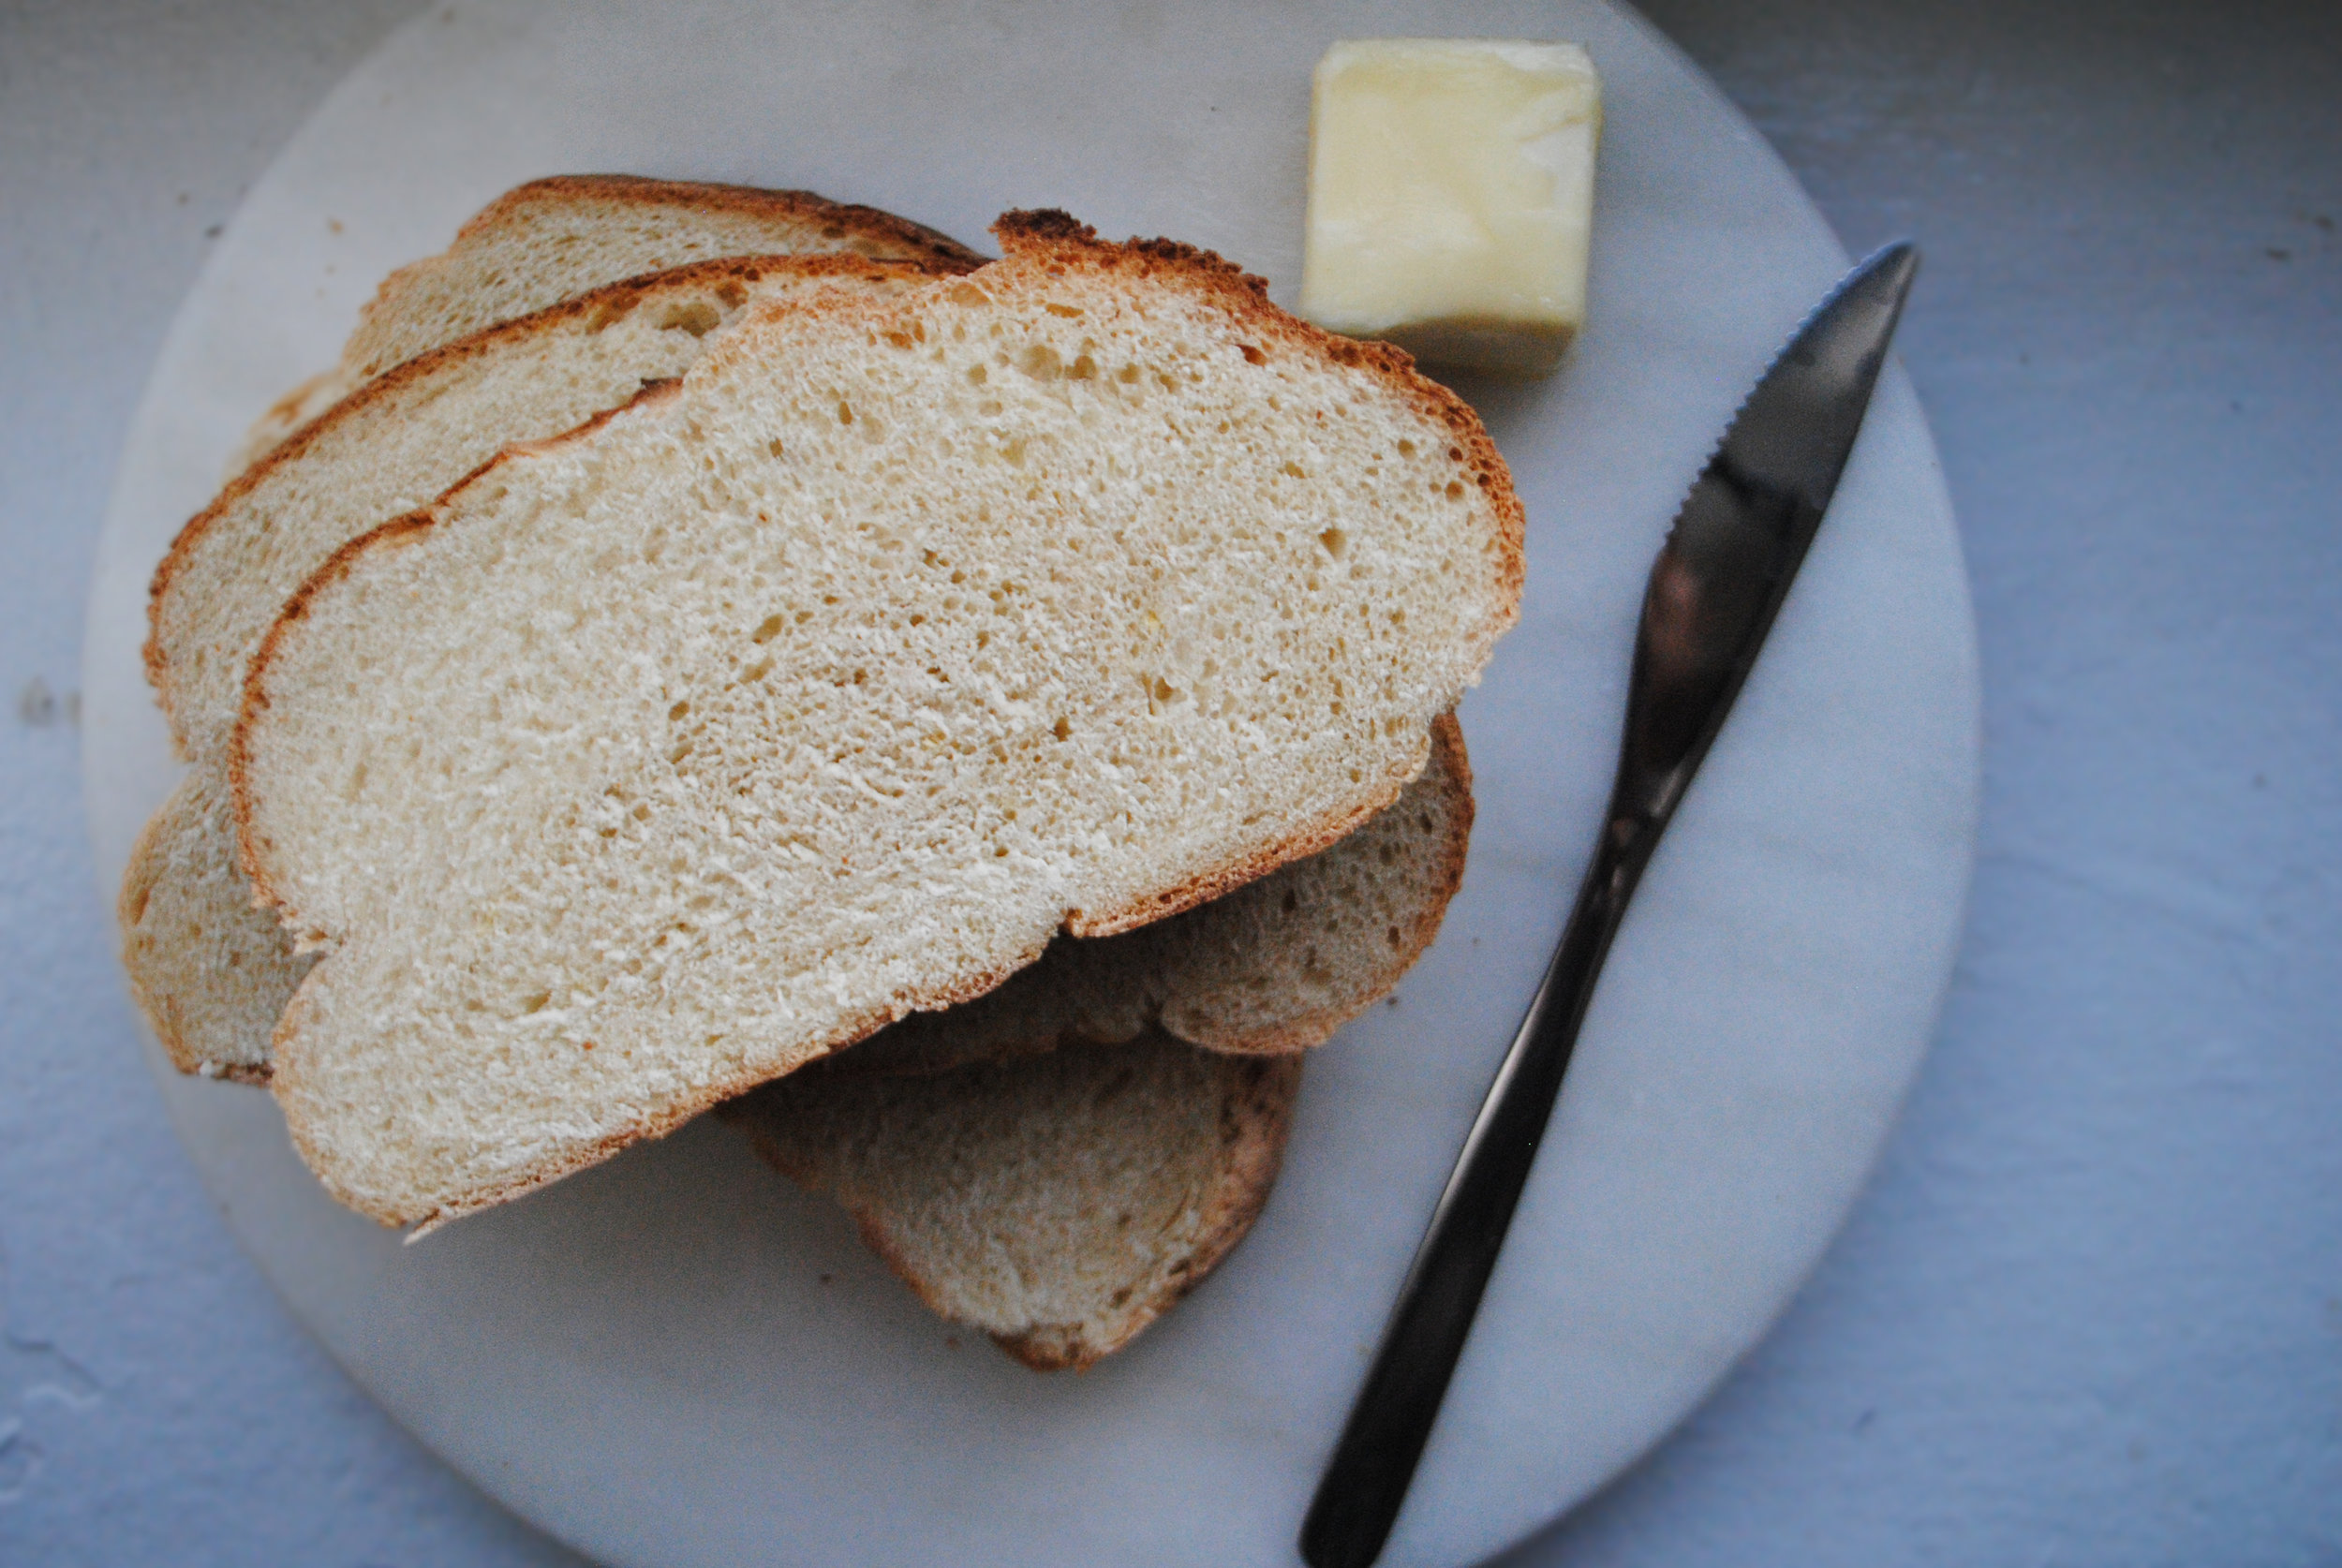
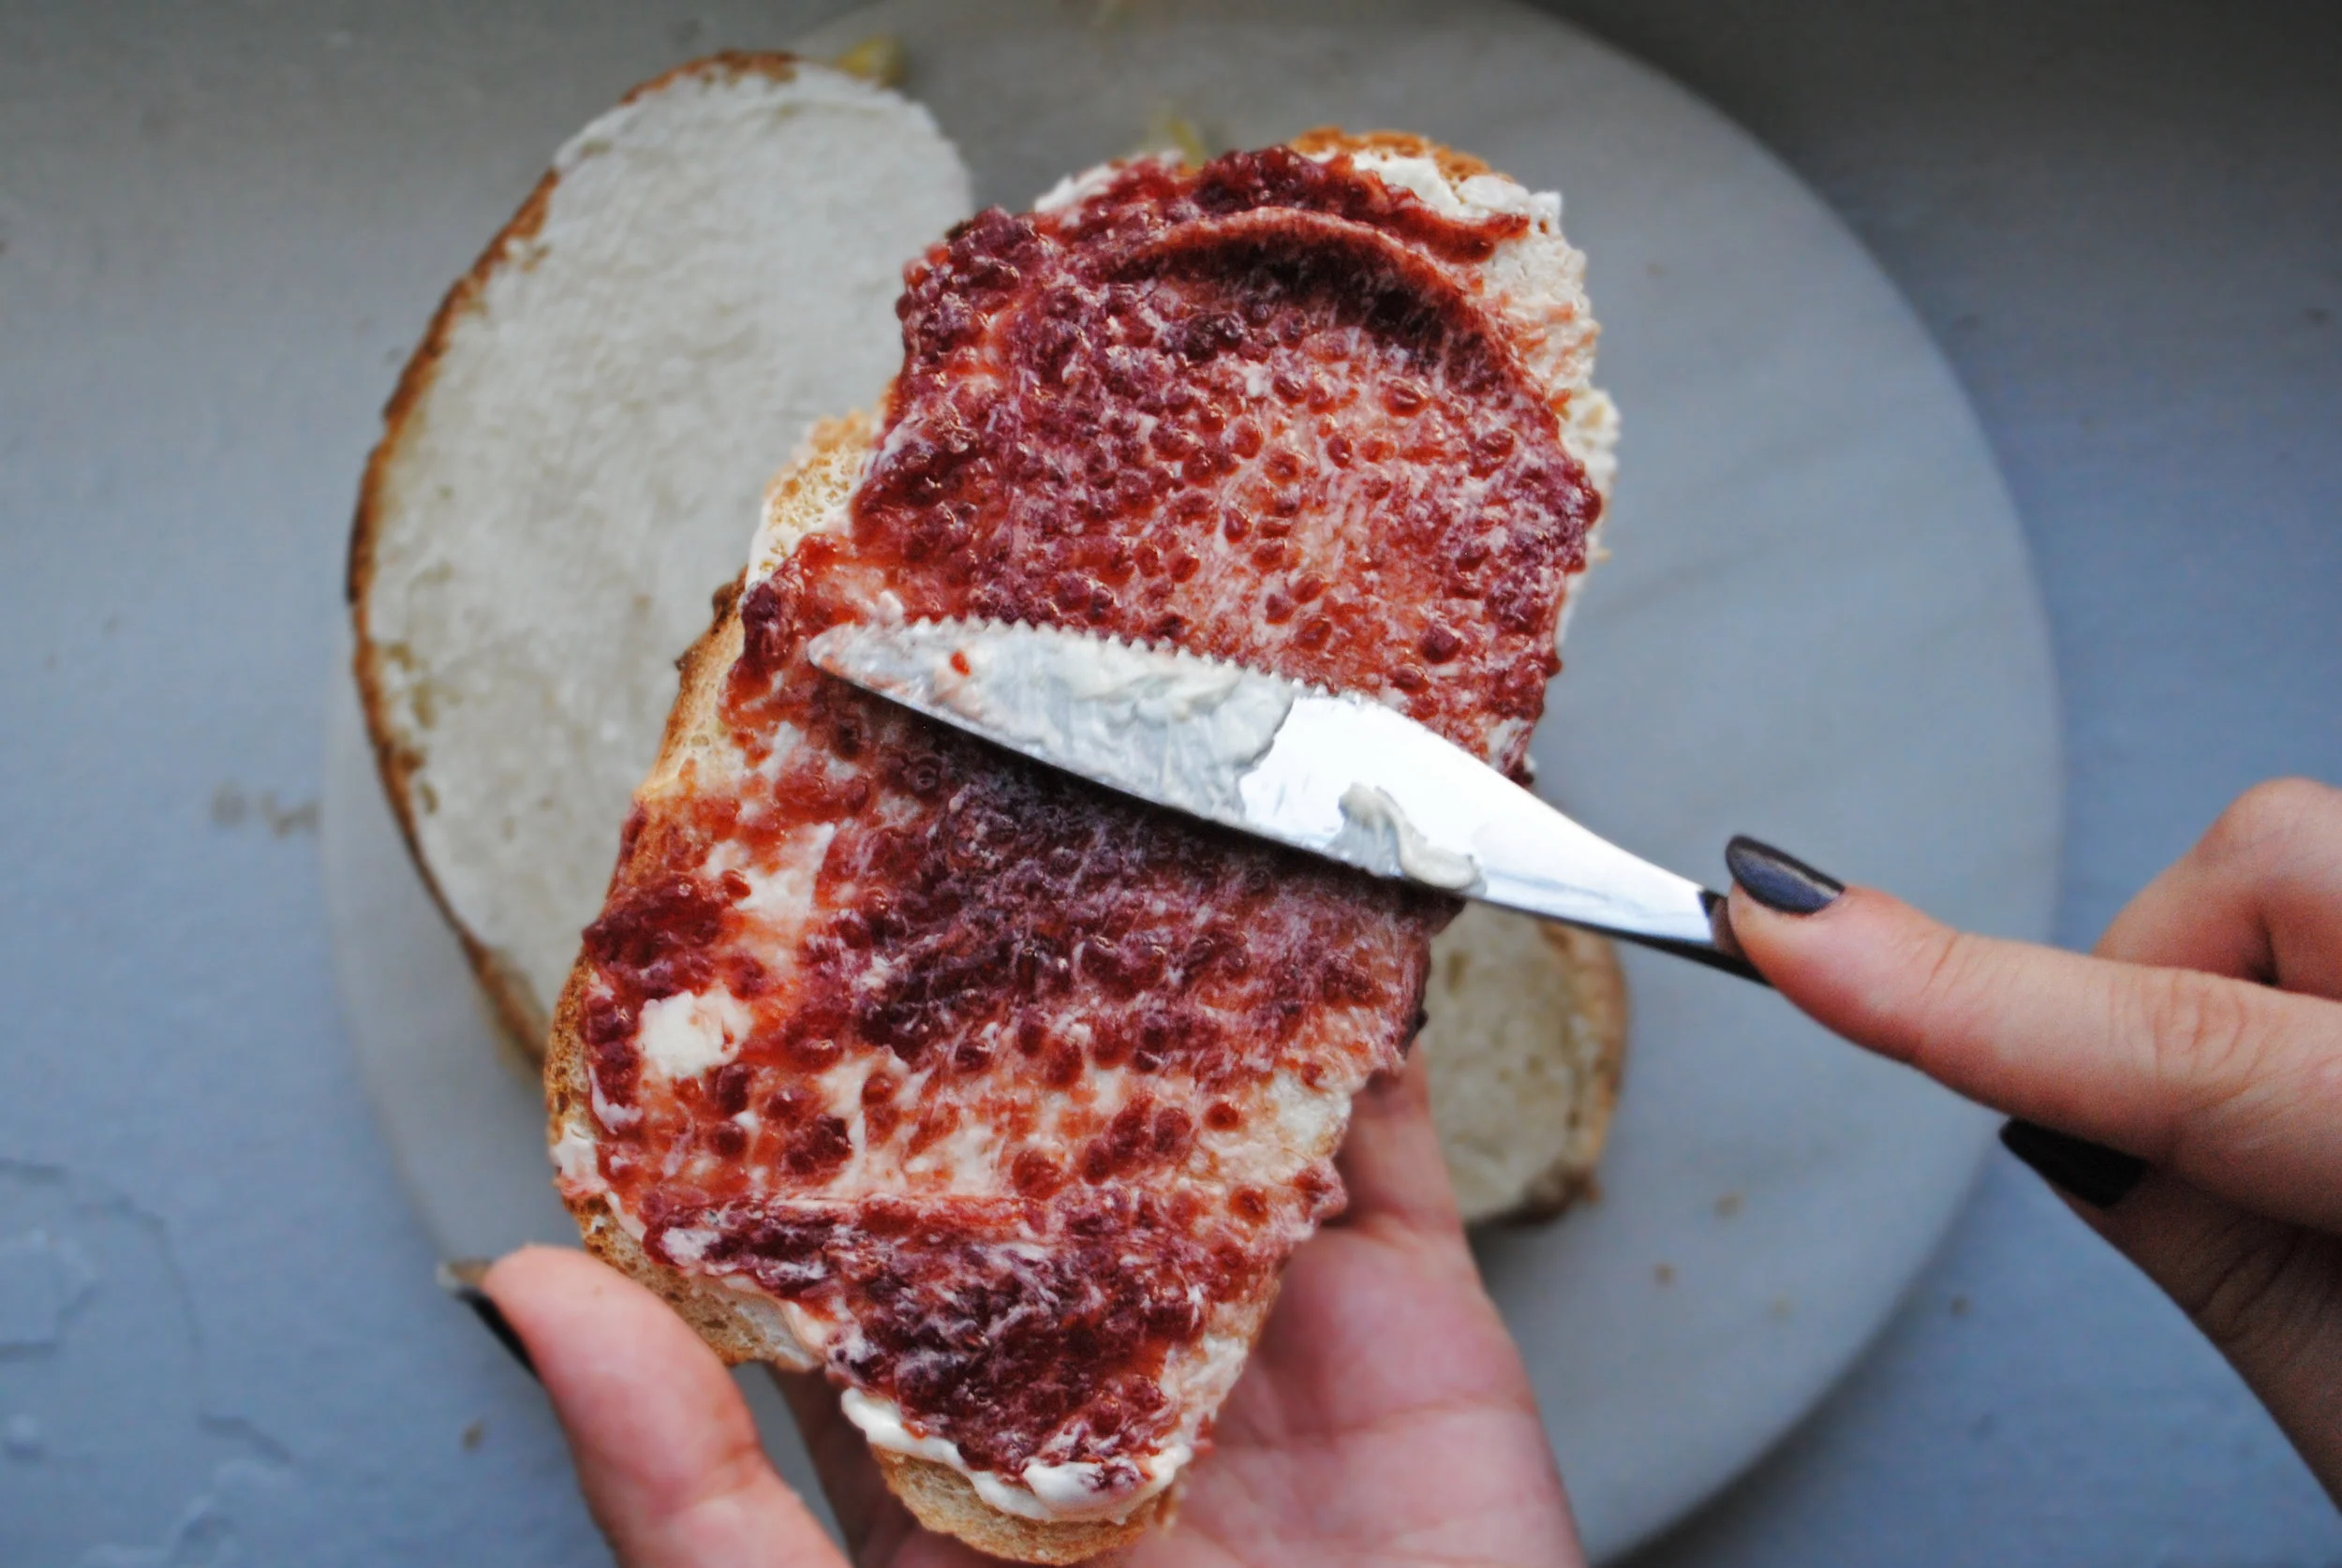
To serve: allow to cool so that you can cut it, and then go to town. Cut thick slices with a long serrated knife, slather with butter, jam or any other favorite condiments and enjoy.
To keep: this bread will keep well for a few days covered in foil or plastic wrap. Putting it in a zippered bag will make the bread go soft very quickly, while the foil/plastic wrap will help the bread keep its integrity for a bit longer.