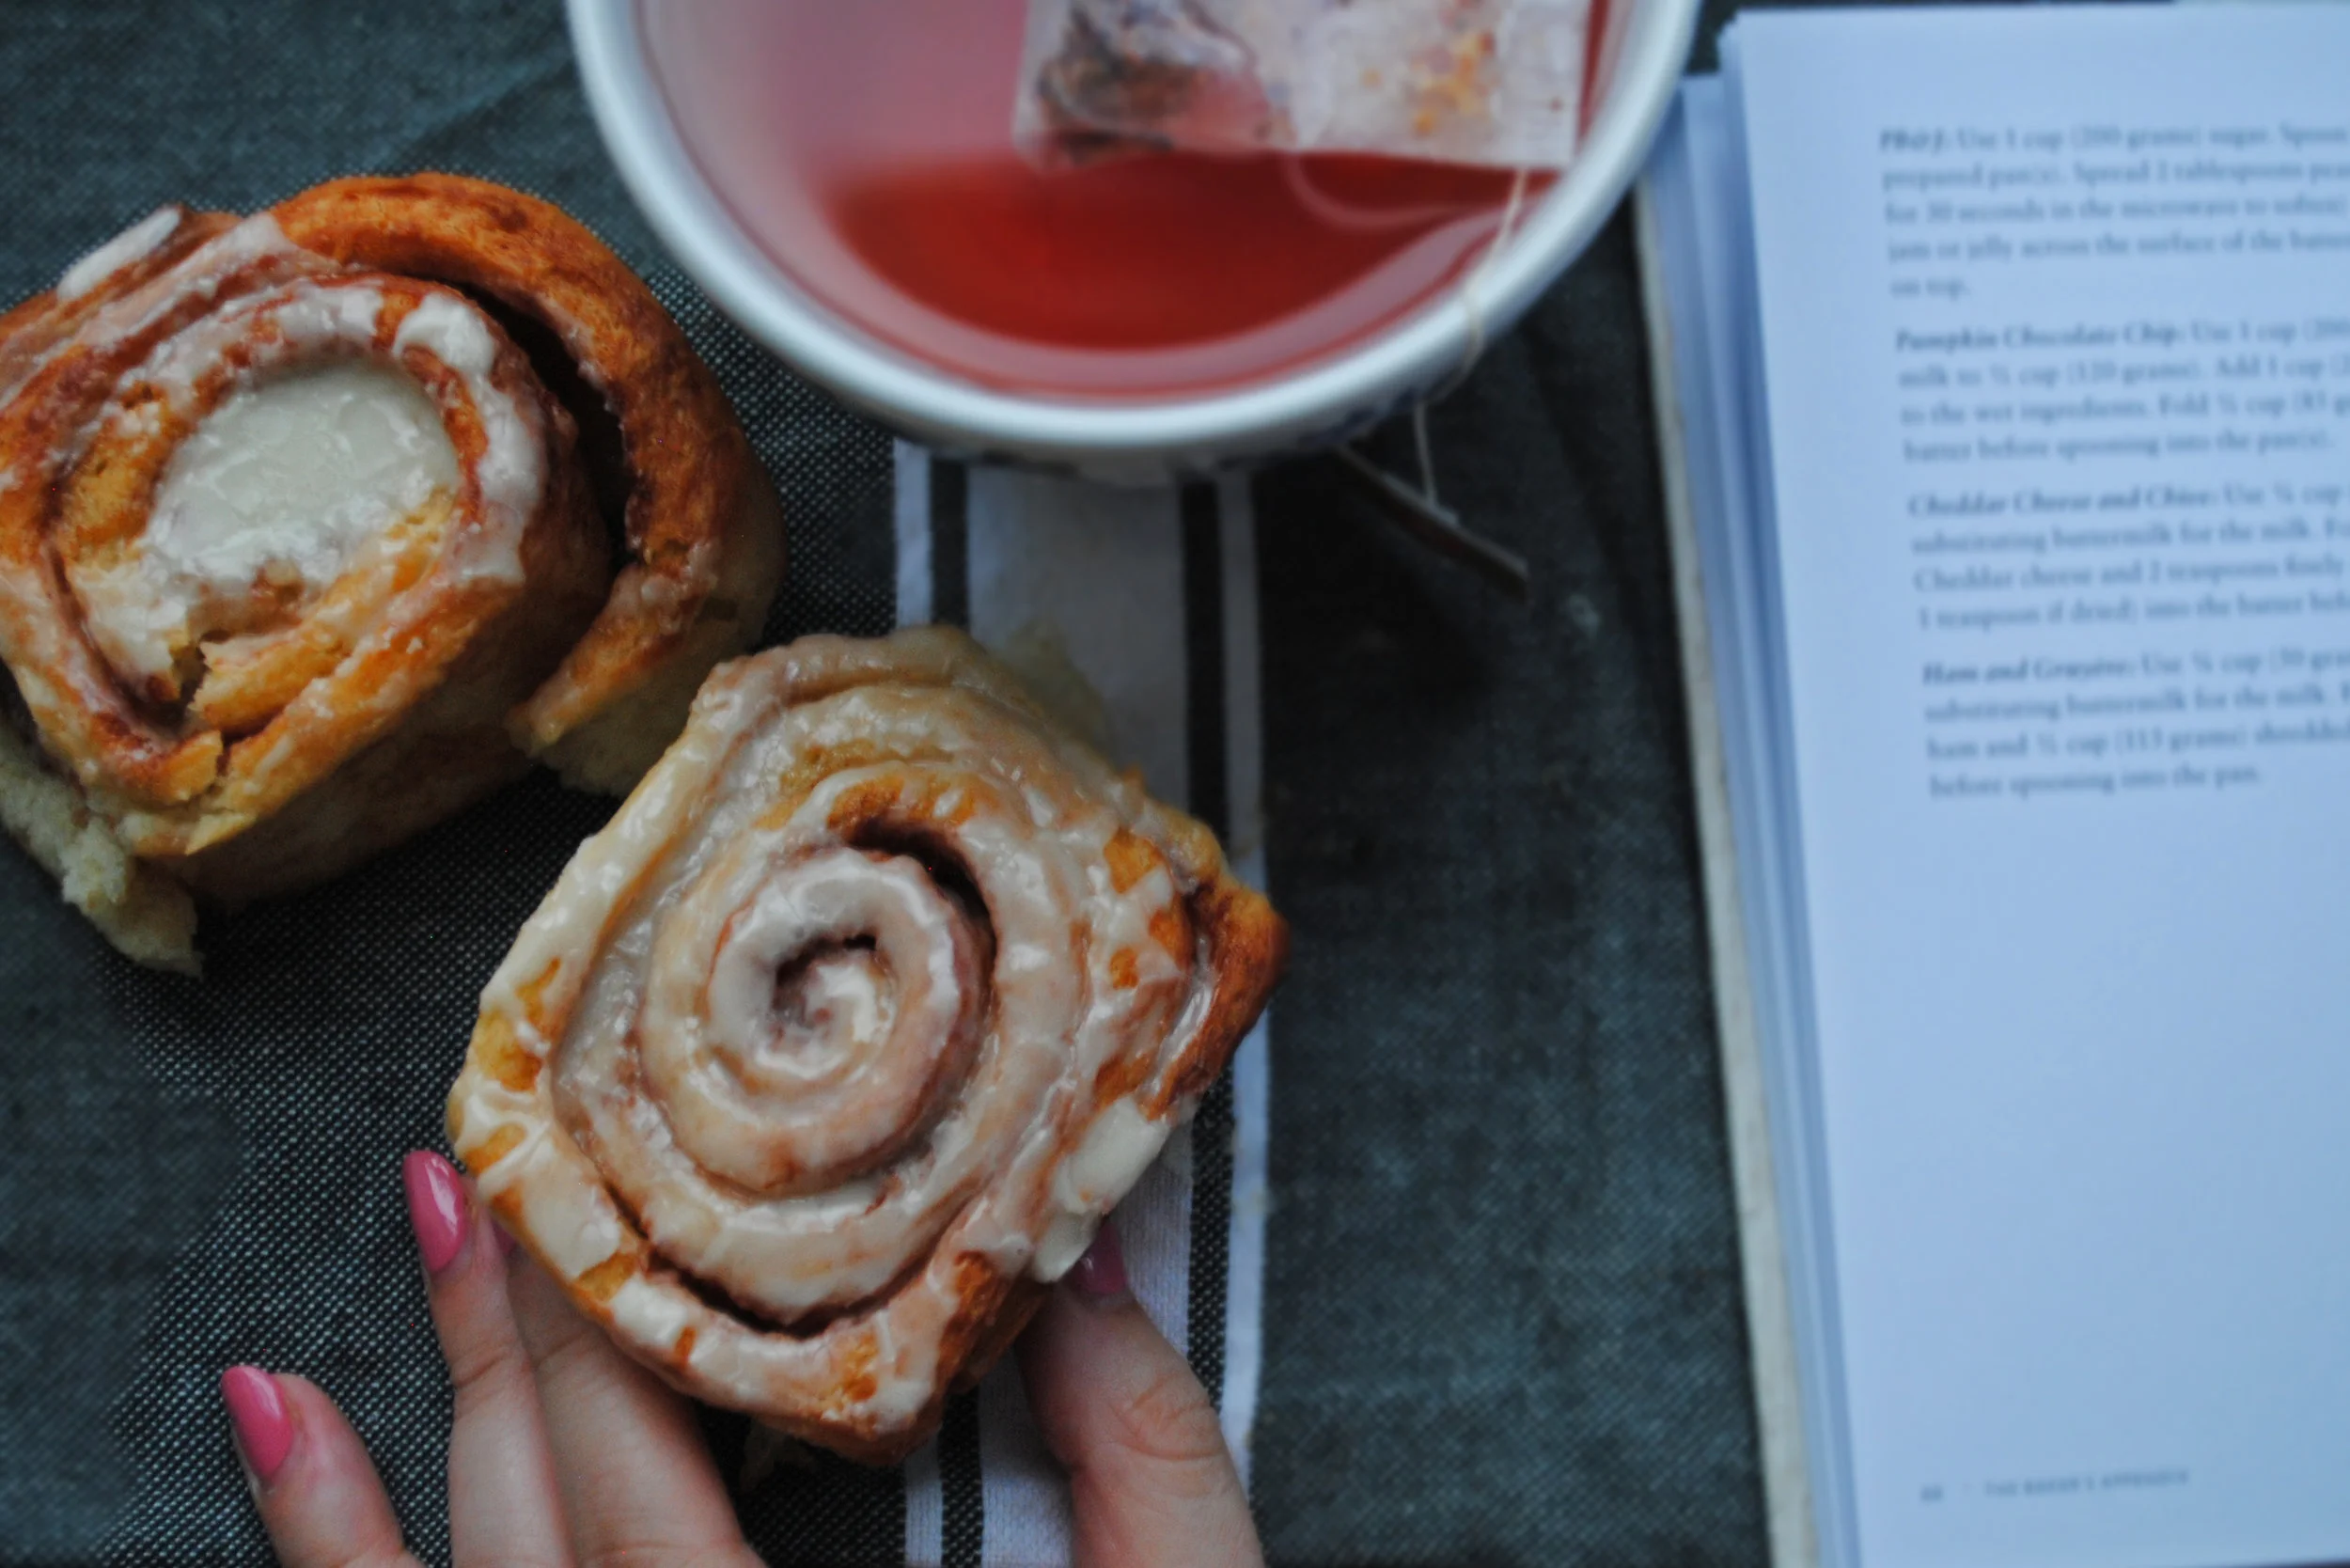
MAGICAL VEGAN CINNAMON ROLLS
While cooking, listen to this: Let's Stay Together by Al Green ( you may recall this magical moment during the Obama presidency)
I'm a vegan doubter. There, I said it. I know it makes no sense for me to co-run a vegan-friendly blog, but, before you give me that look, let me explain. My dessert motto has always been "it's not worth it if it's not real," which still reigns true when people try to convince me applesauce is a good substitute for sugar (sex with pants on, as Whole30 appropriately calls it). Living healthily doesn't mean depriving yourself of every sugar-filled good thing life has to offer. And let me be clear: these cinnamon rolls are by no means what I would call healthy. But, if you have a sensitive tummy, as many in my family do, having a dairy-free way to satisfy your sweet tooth means you're one step closer to food paradise.
When Rina started making vegan food for me, I immediately thought "meat substitute," "cashew cheese" and "Daiya." I wasn't convinced. But when she brought me a bag of these cinnamon buns, I had a renewed faith in vegan ingredients. Granted, I still don't fully understand vegan butter, but I don't care. I love me some vegan butter!
Last week, I brought these to work. If I kept them in my apartment, I knew my will-power wouldn't be strong enough. I like to think I have self-control, but when it comes to dessert (or salty snacks, or episodes of Friends), I don't. Even my pickiest of coworkers couldn't stop hovering around the printer, slowly cutting off pieces with a knife until an entire roll was consumed. No judgement here - these buns are the REAL DEAL.
These bad boys from the always amazing Minimalist Baker are time consuming, but easy. Don't let the yeast scare you! While you wait for the dough to rise, take this time to clean up the kitchen. Wipe the flour off the counter. Or the floor. Or the dog. Anyone else a complete slob when they bake? No? Only me?
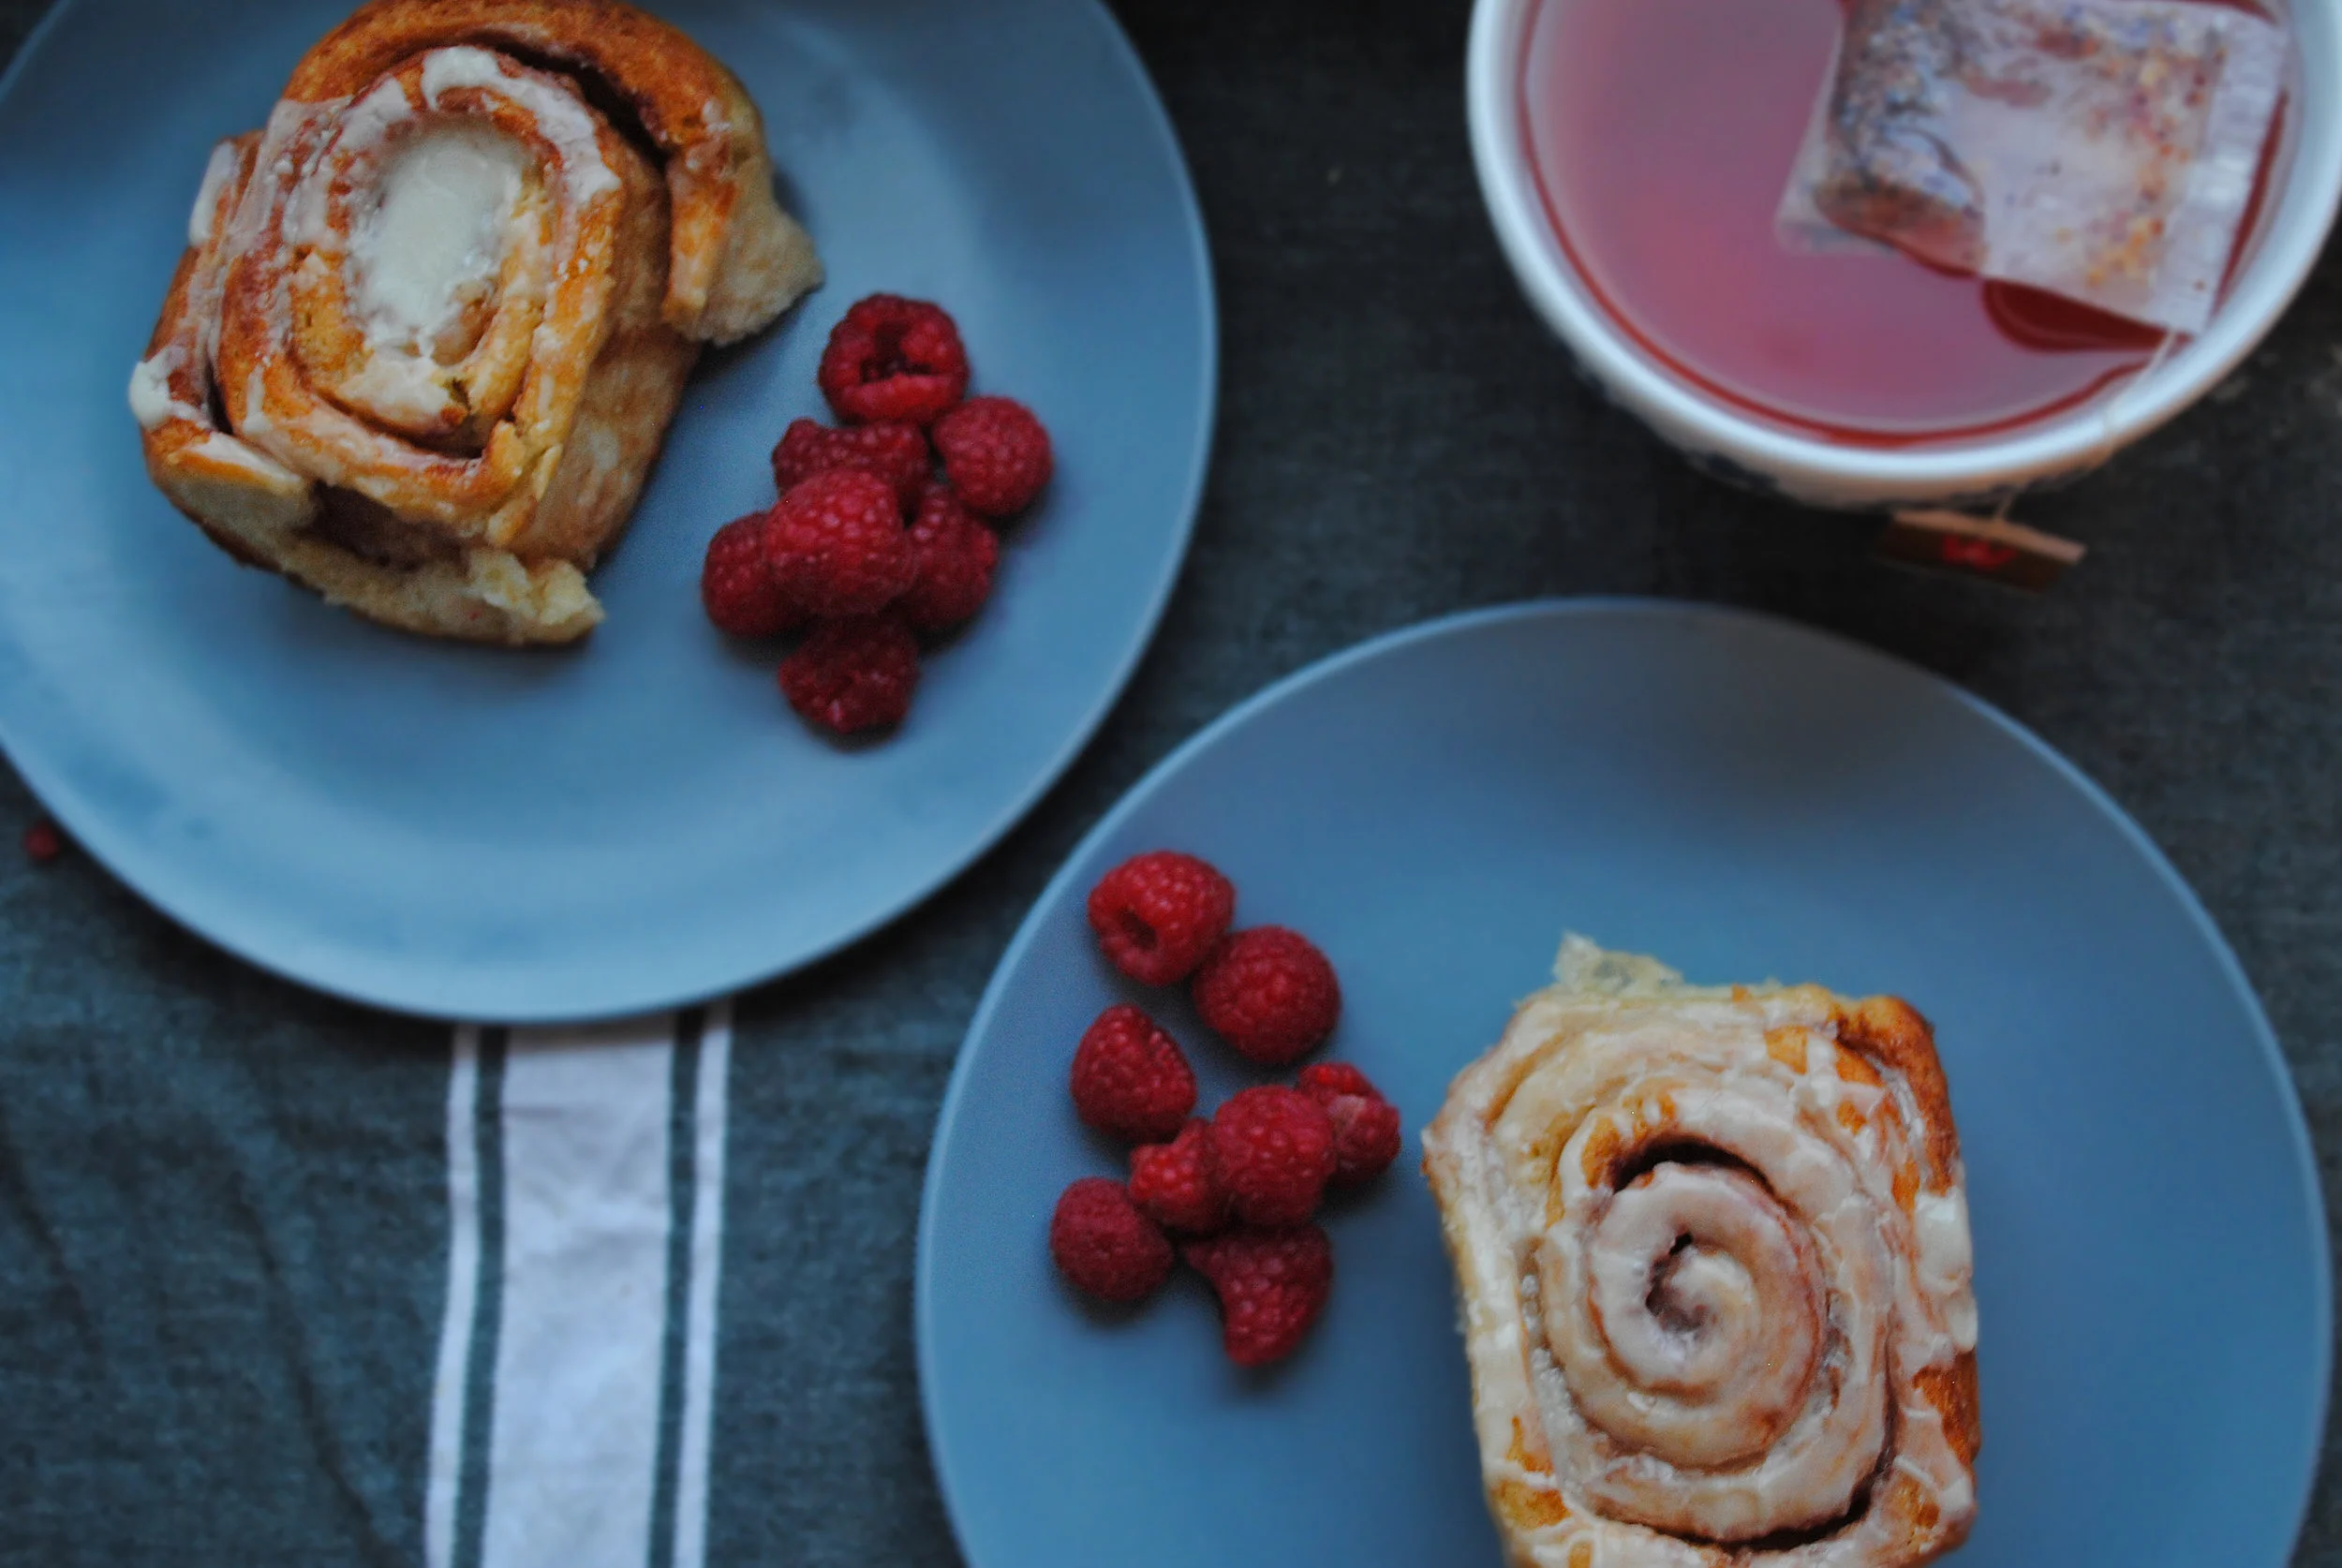
These rolls make a beautiful breakfast on-the-go, but I'm also all in favor of a mid-afternoon snack, pre-bedtime treat or late-night drunk nosh. For safekeeping, I'd store these bad boys in an air-tight container or freezer bag. They last for around 5 days, if you, by some miracle of god, have leftovers. Feel free to top with chocolate chips or berries if you're feeling fancy. Tear apart, lick the cinnamon sugar off your fingers and enjoy.
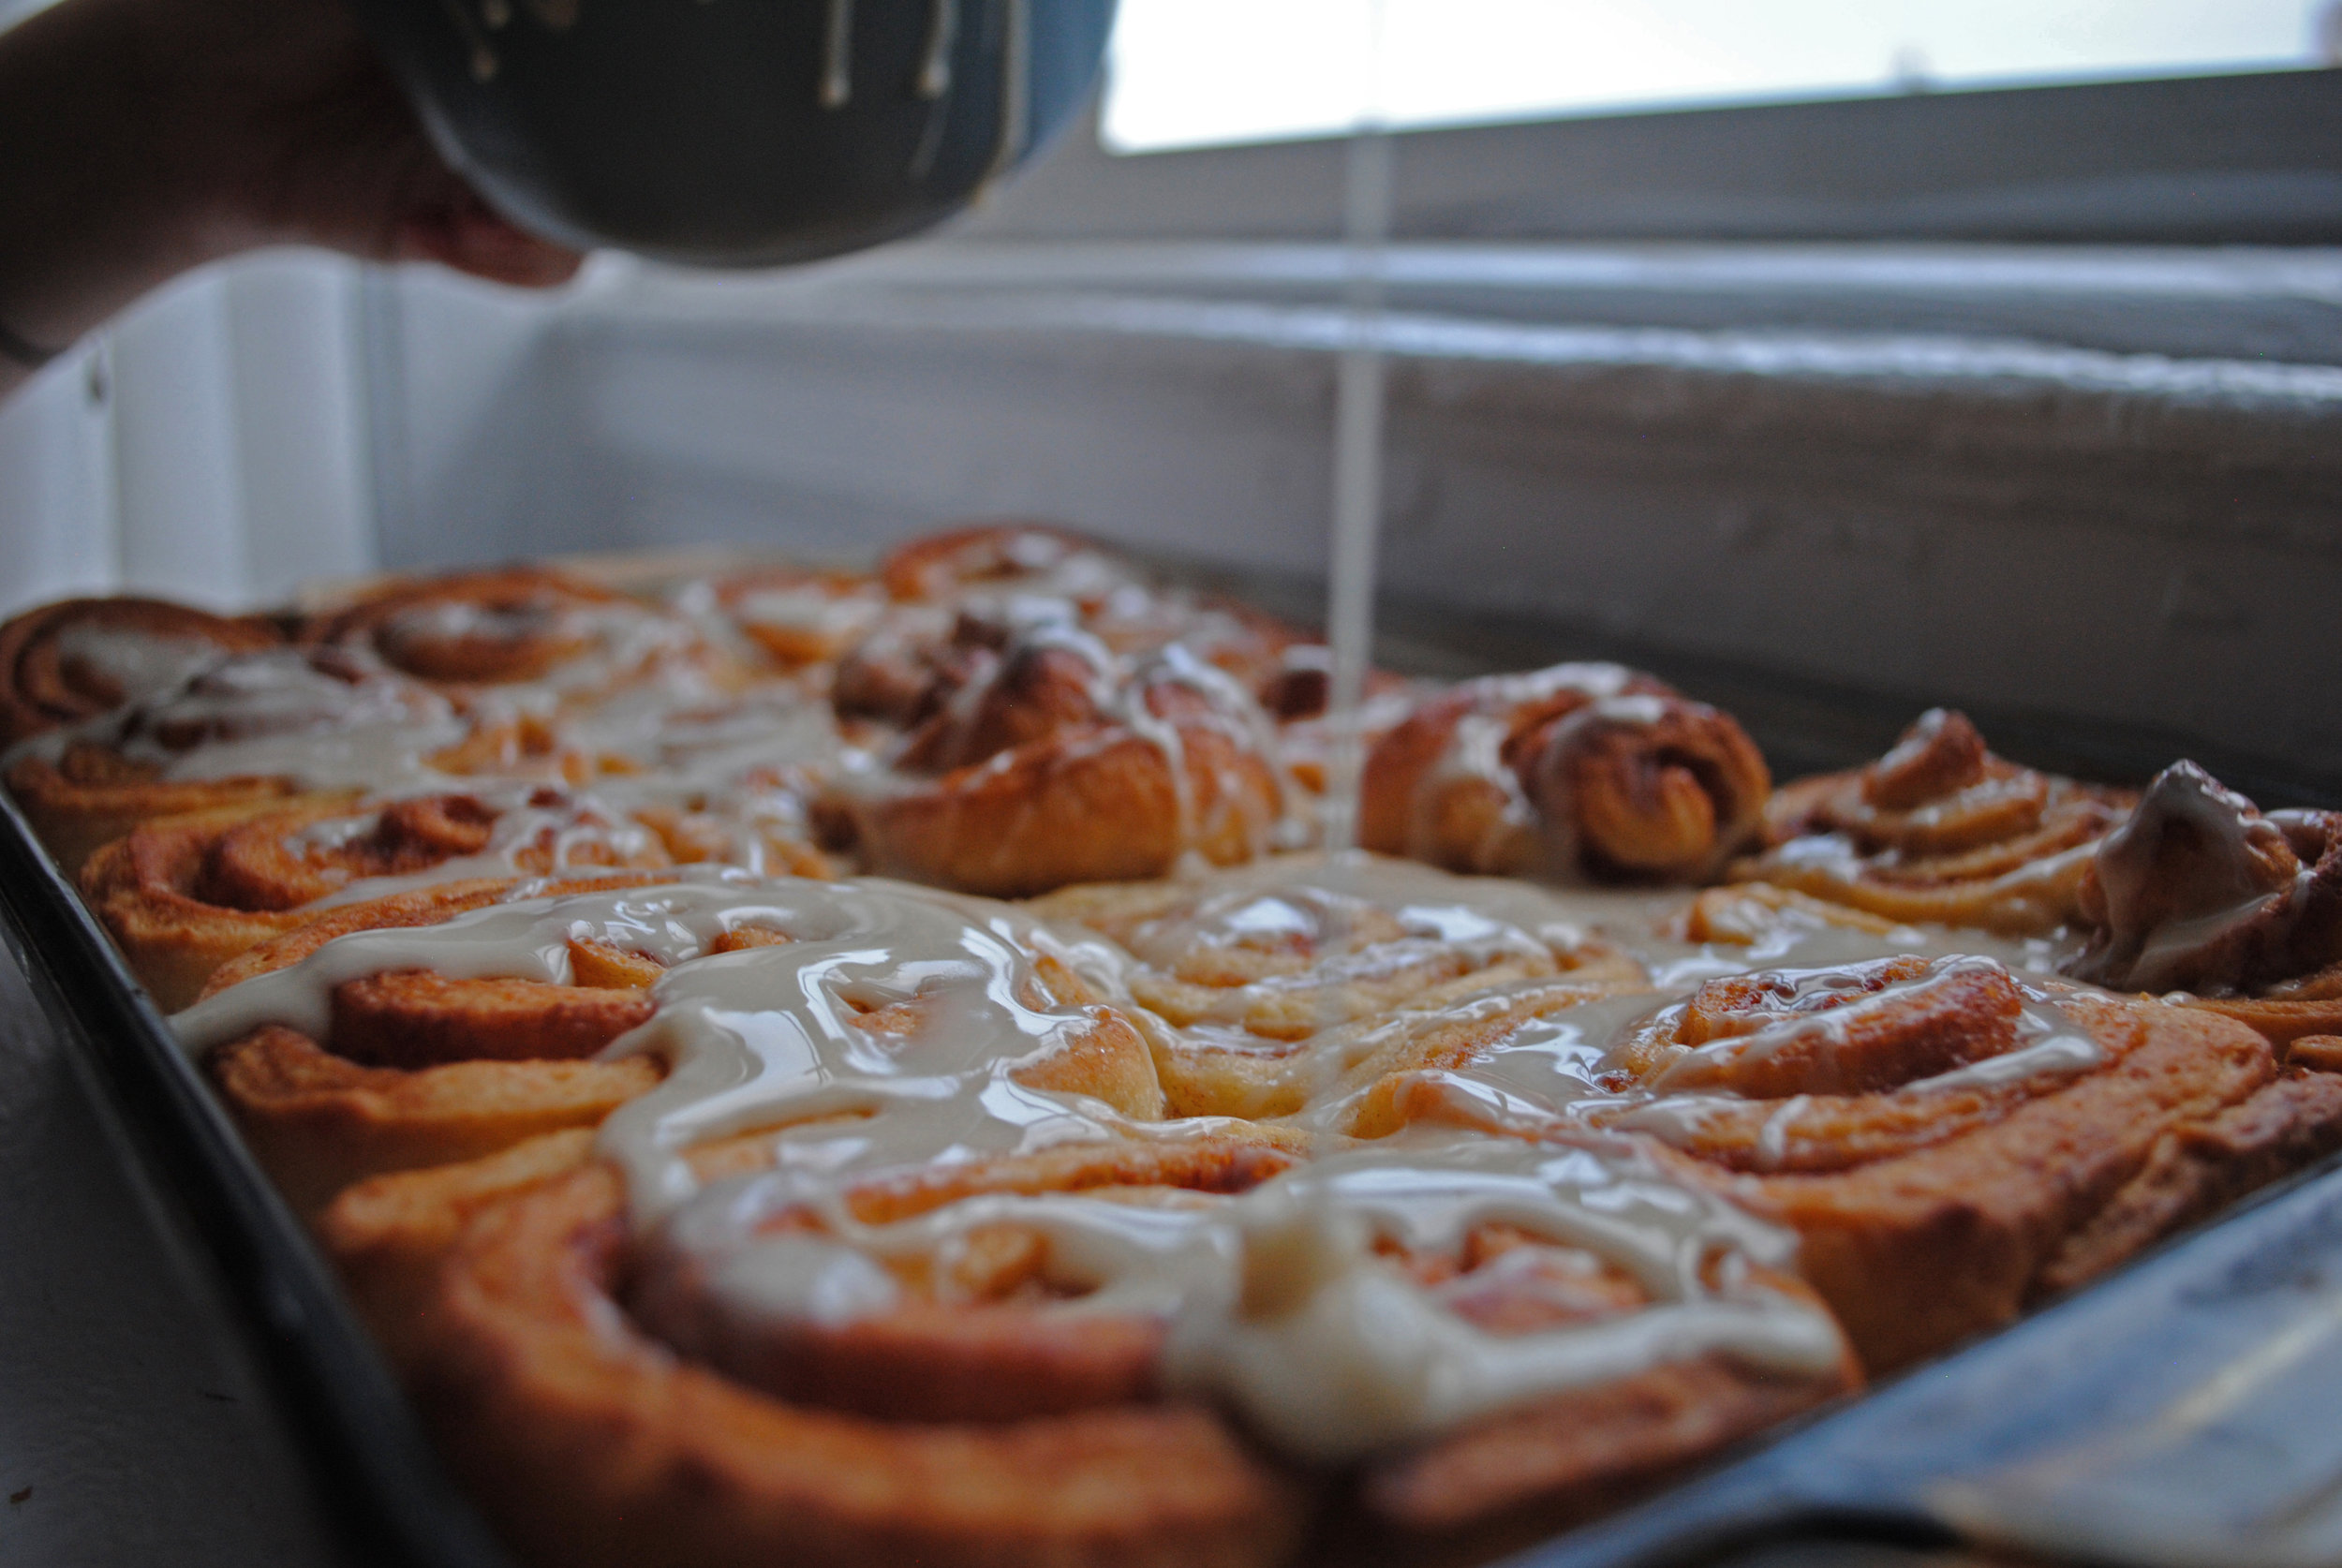
If you're in a time crunch, the rolls are delicious on their own, but I highly recommend taking the extra 30 seconds to make the glaze. You won't regret it, and I wouldn't steer you wrong.
xo, Alyssa

MAGICAL VEGAN CINNAMON ROLLS
Yield: about 16 rolls (depending on size)
Cook Time: about 2h
Category: Sweet, Baked, Vegan
Source: doubled from Minimalist Baker
Ingredients
2 packets instant yeast (4 ½ teaspoon)
2 cups unsweetened plain soy or almond milk
1 cup (2 sticks) vegan butter, divided (we like Earth Balance but choose your favorite)
½ teaspoon salt
6 cups unbleached all purpose flour
2 teaspoons vanilla OR 1 teaspoon vanilla powder
3 teaspoons ground cinnamon
½ cup + 2 Tablespoons sugar, divided
Instructions
Prepare the yeast "bath": I like to think of this step as a bath for the yeast to get all cozy in. Place the milk and 6 tablespoons of butter into a medium saucepan and place on medium heat. Keep an eye on this mixture - you want it to be warm enough to melt the butter, but not so warm that the milk starts to simmer. Once the butter is totally melted, take off of the heat and pour into a large mixing bowl.
Let the milk-butter mixture cool off a bit. Dana at Minimalist Baker gives the helpful tip to let the mixture cool down until it's at a temperature you would want your bath water to be. Not too hot, otherwise you'll kill the yeast, but warm enough to activate it. These first few steps are a bit of a Goldilocks situation.
Sprinkle the yeast over the mixture. Once the milk-butter mixture is cool enough, sprinkle the yeast overtop and let stand for 10 minutes. After ten minutes, sprinkle 2 tablespoons of sugar, the vanilla and the salt into the mixture and stir.
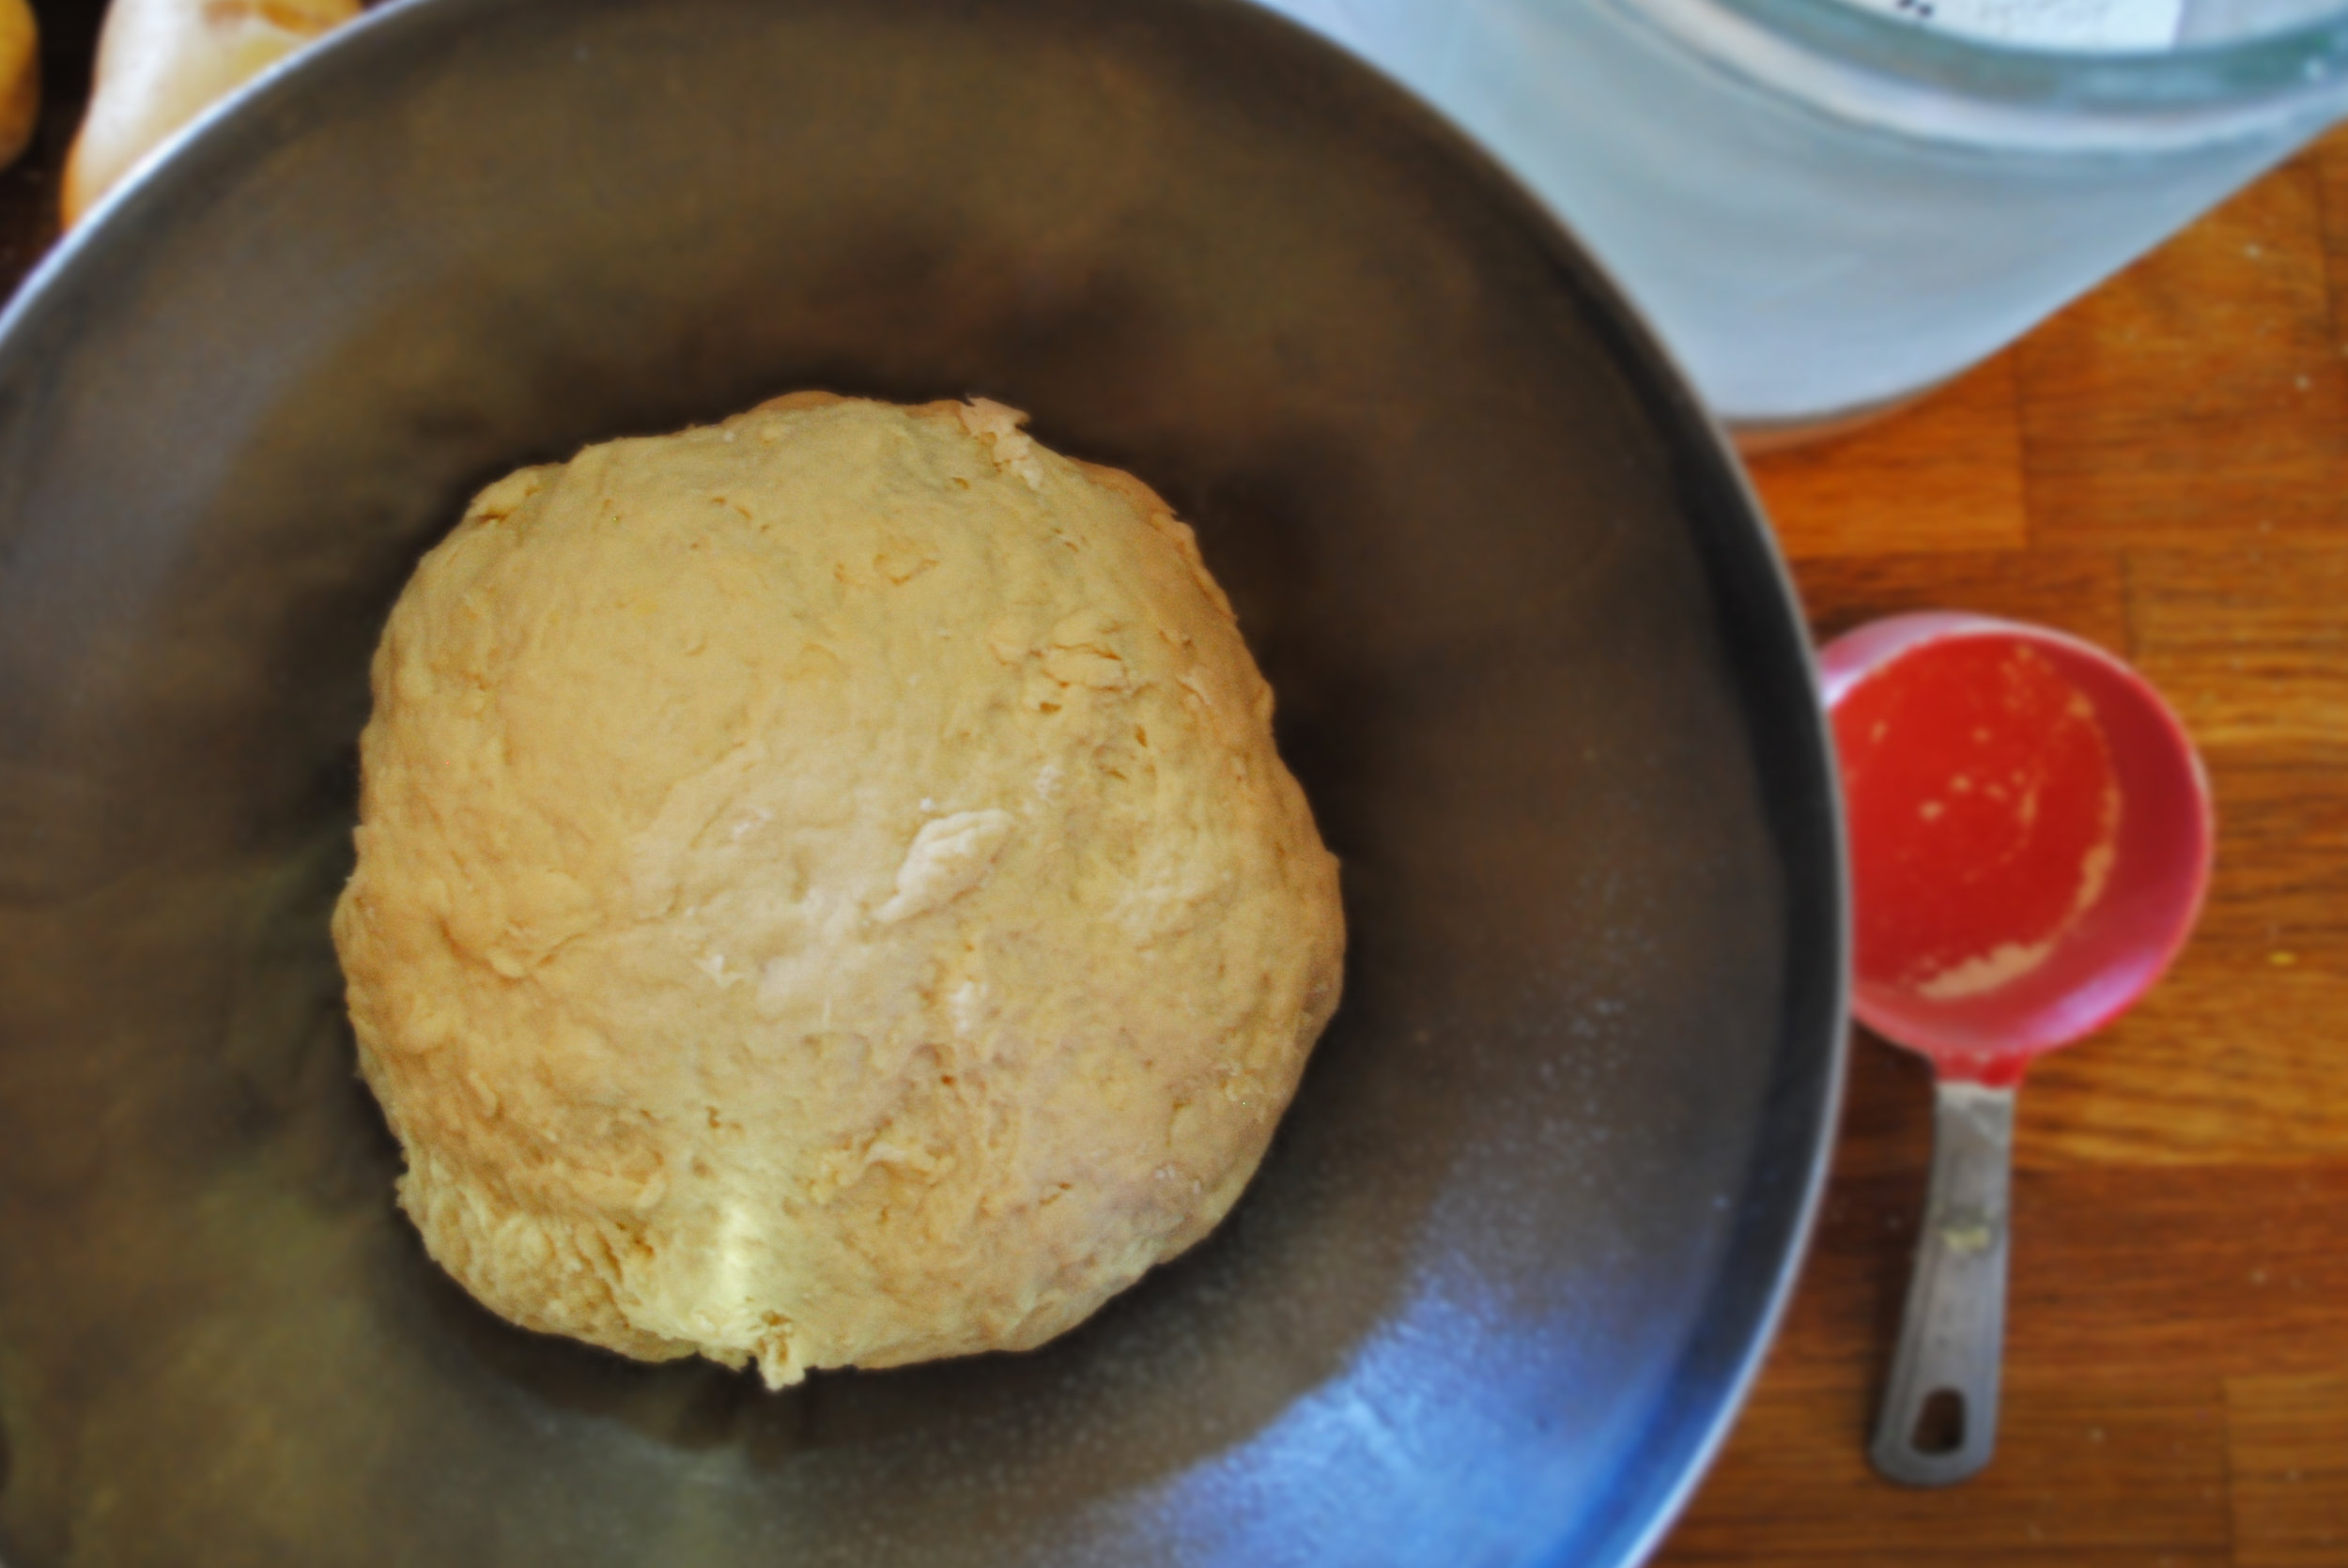
Add the flour. Add the flour ½ cup at a time, and after each ½ cup stir until the flour is just incorporated. I have never used all 6 cups of flour before, but this will totally depend on your climate and altitude. I also always end up using my hands to combine the last cup or so of flour, but you can use a stirring utensil and some elbow grease. Once the dough forms into a loose ball (it will be sticky!), you can stop adding flour.
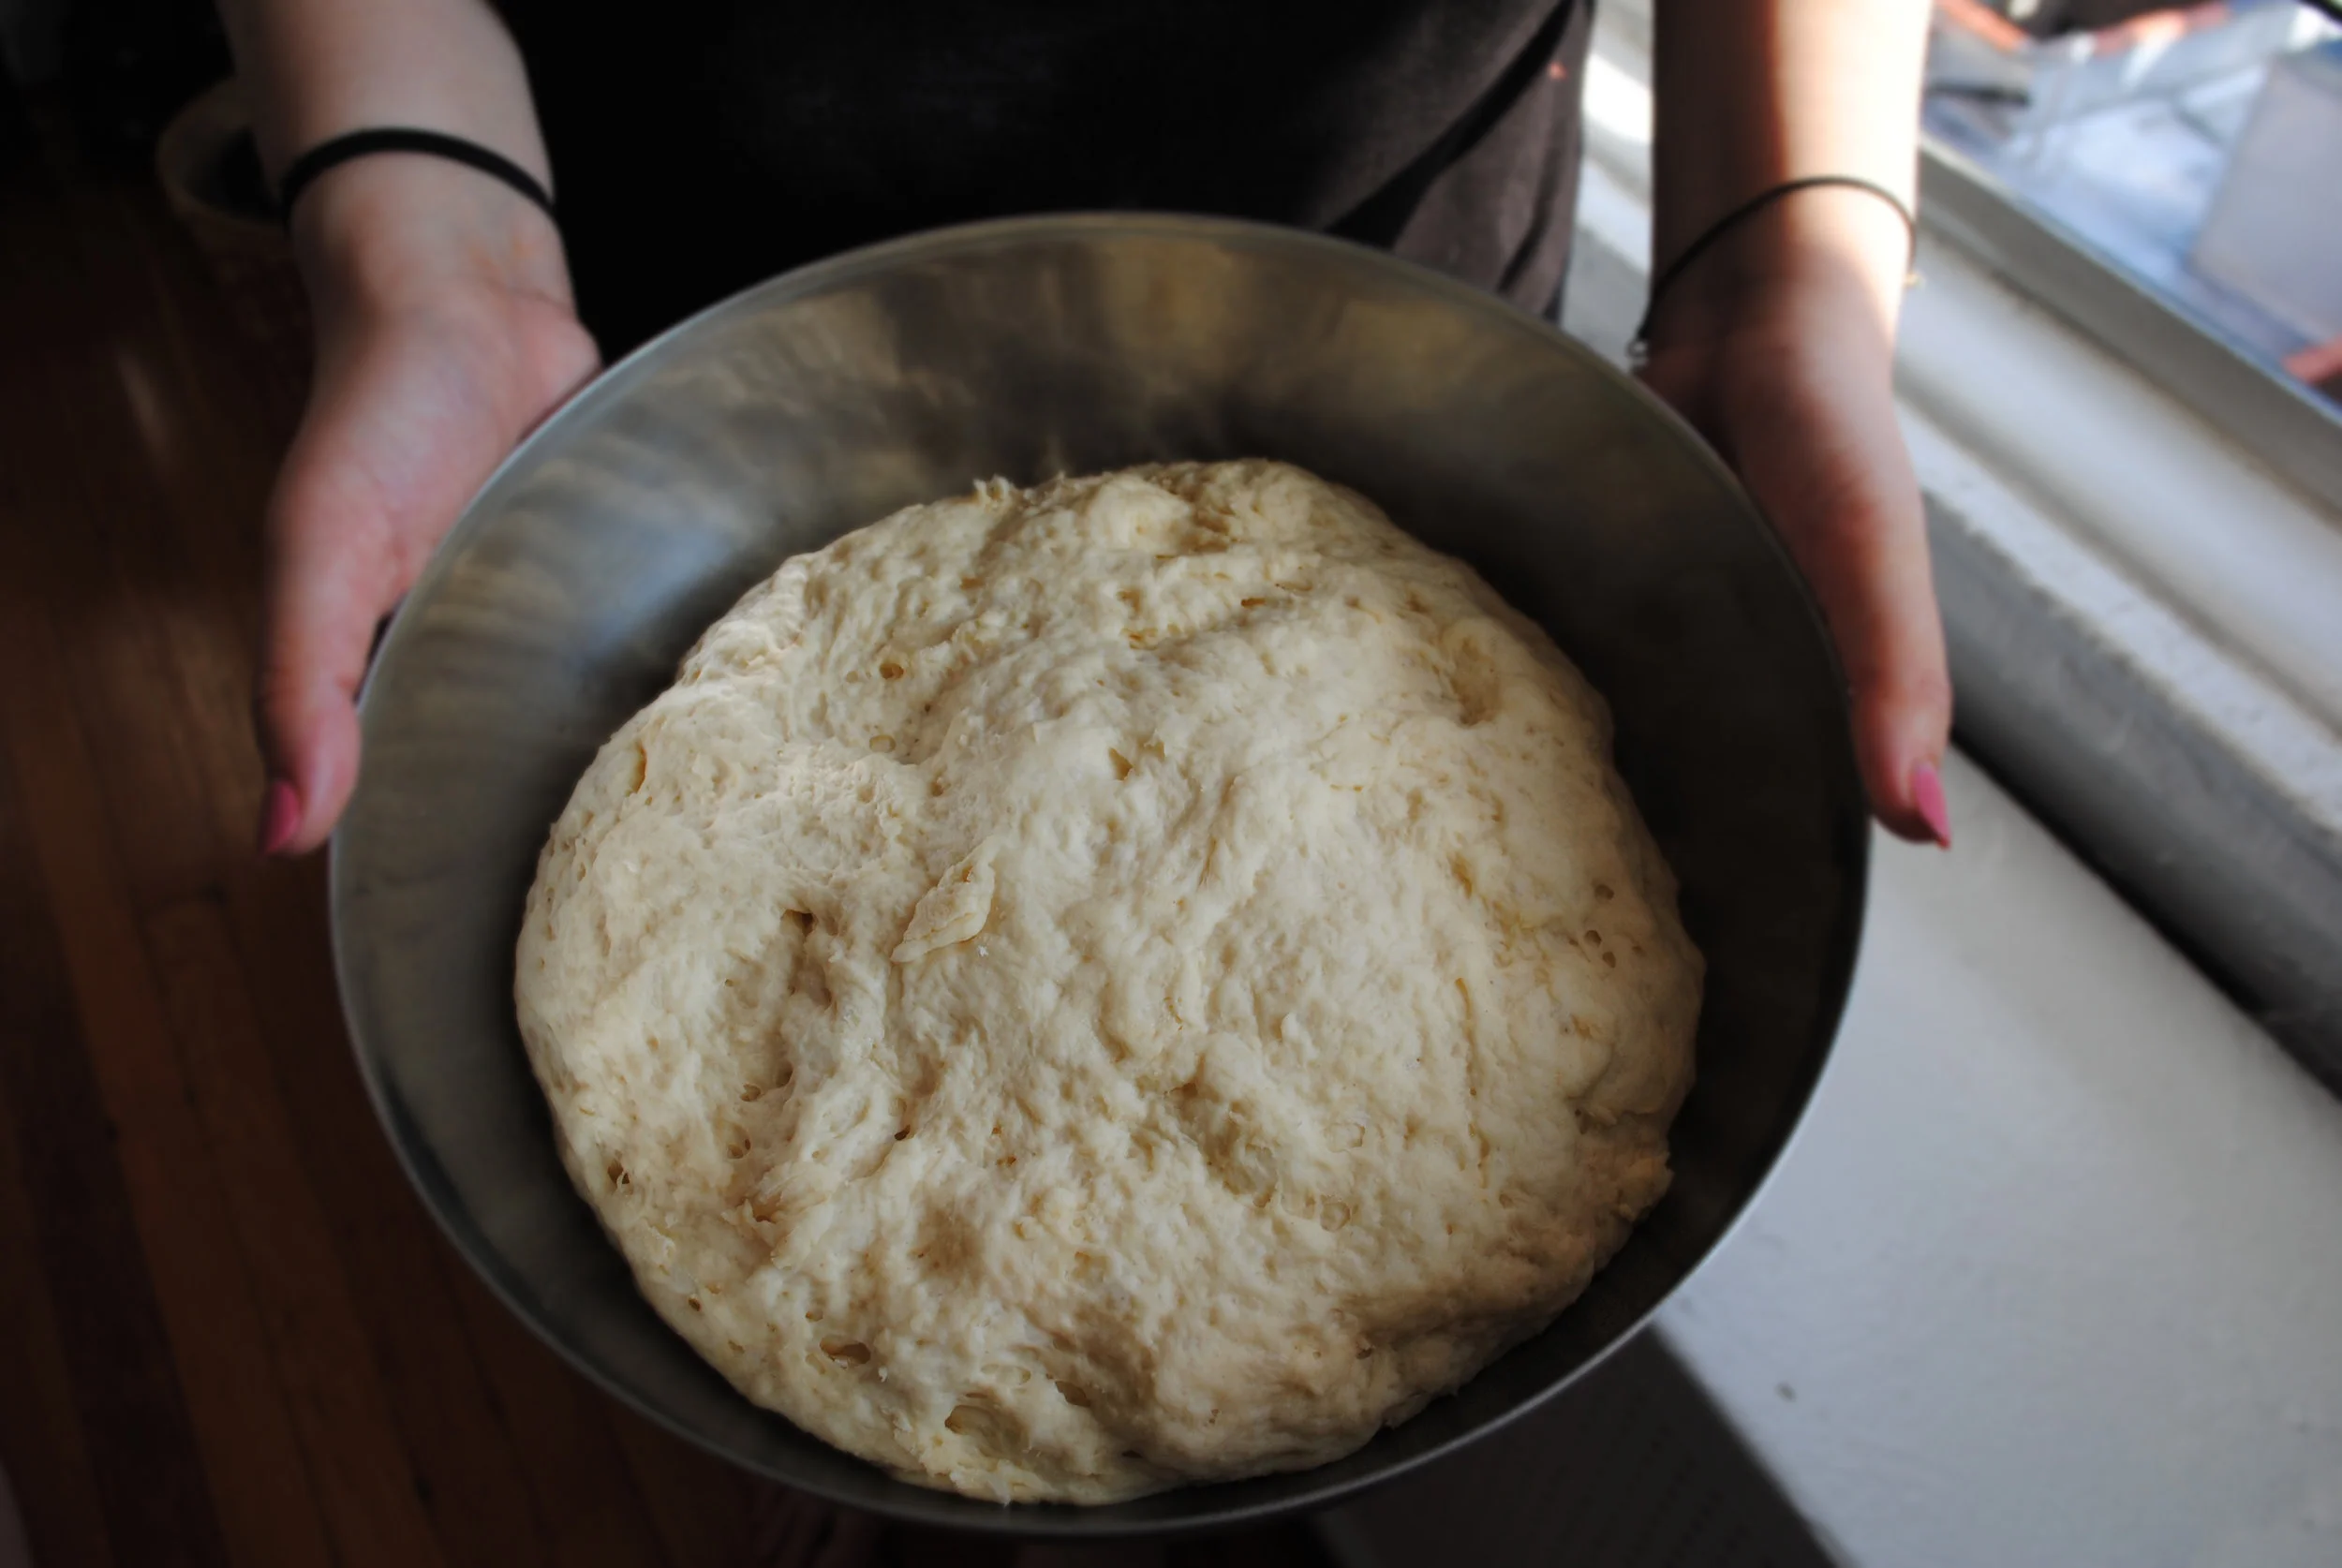
Flour your surface and knead the dough. Knead the dough a few times and form it into a ball. Wash the mixing bowl you made the dough in (or use a new bowl, you do you), spray it with some cooking spray and place your dough ball inside. Cover well and place in a warm spot for an hour, or until your dough has doubled in size. In the winter, my warm spots include the heating bowl in the bathtub and next to the radiator. Life in New York really is as glamorous as people say it is.
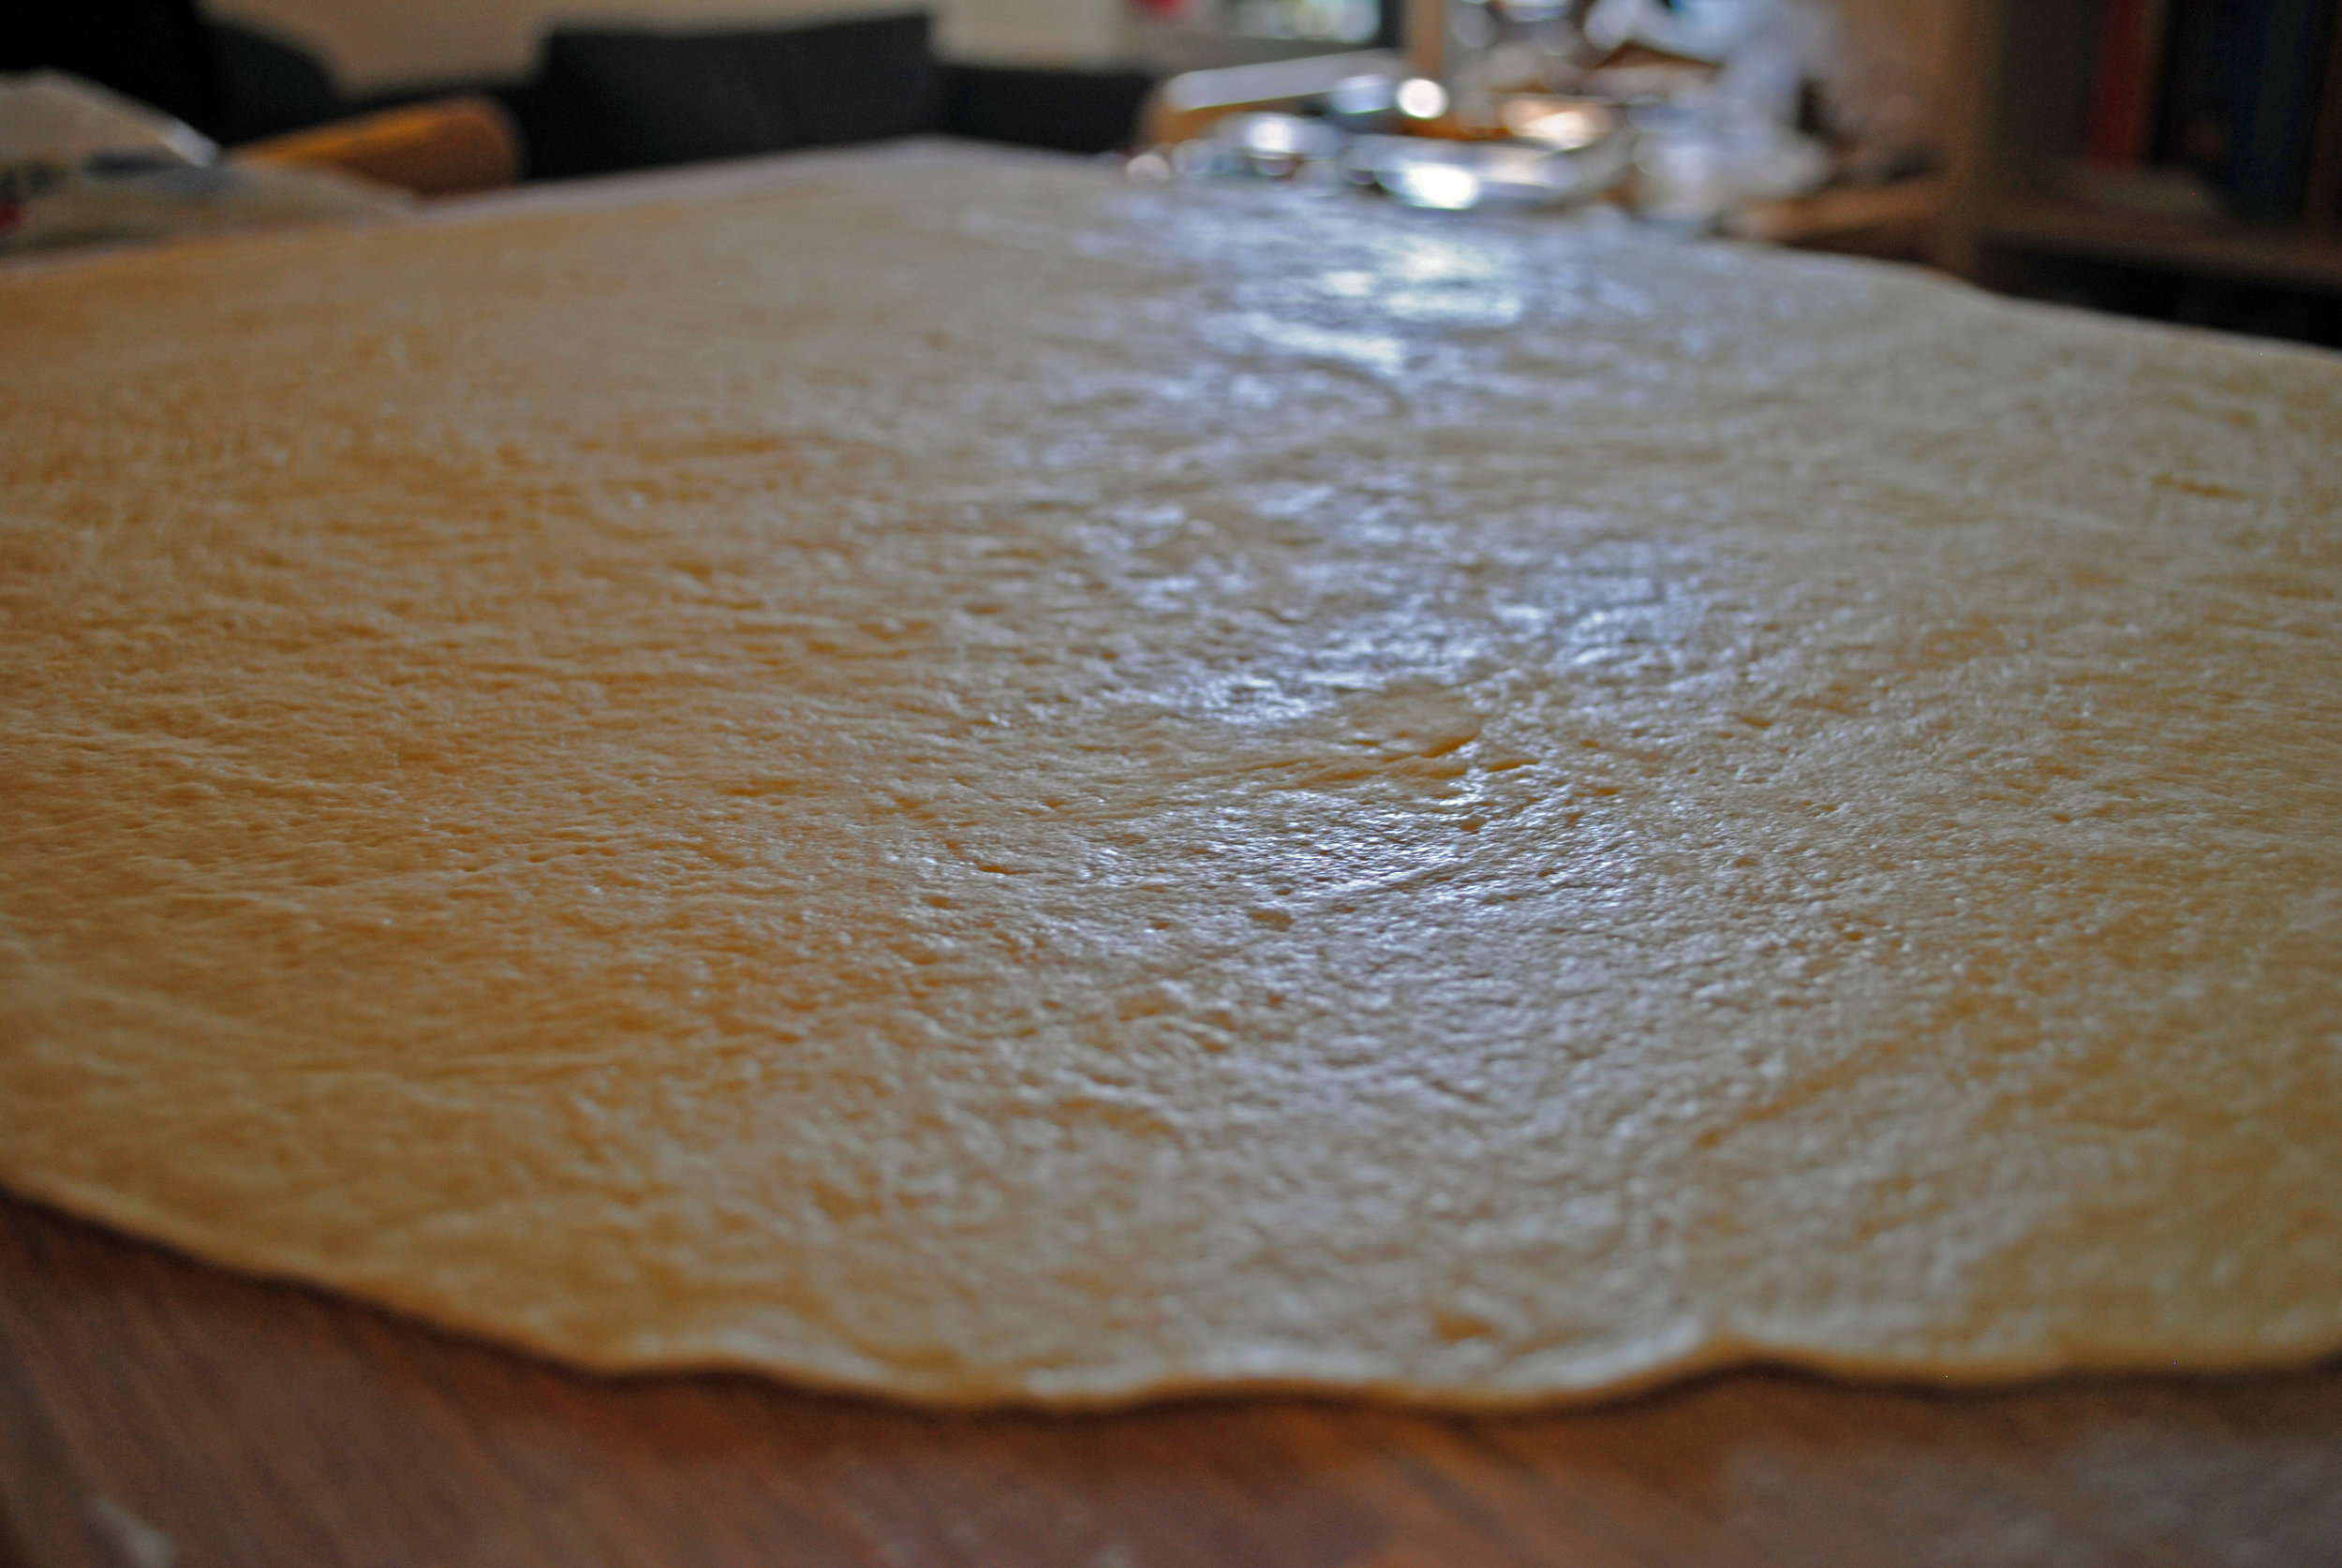
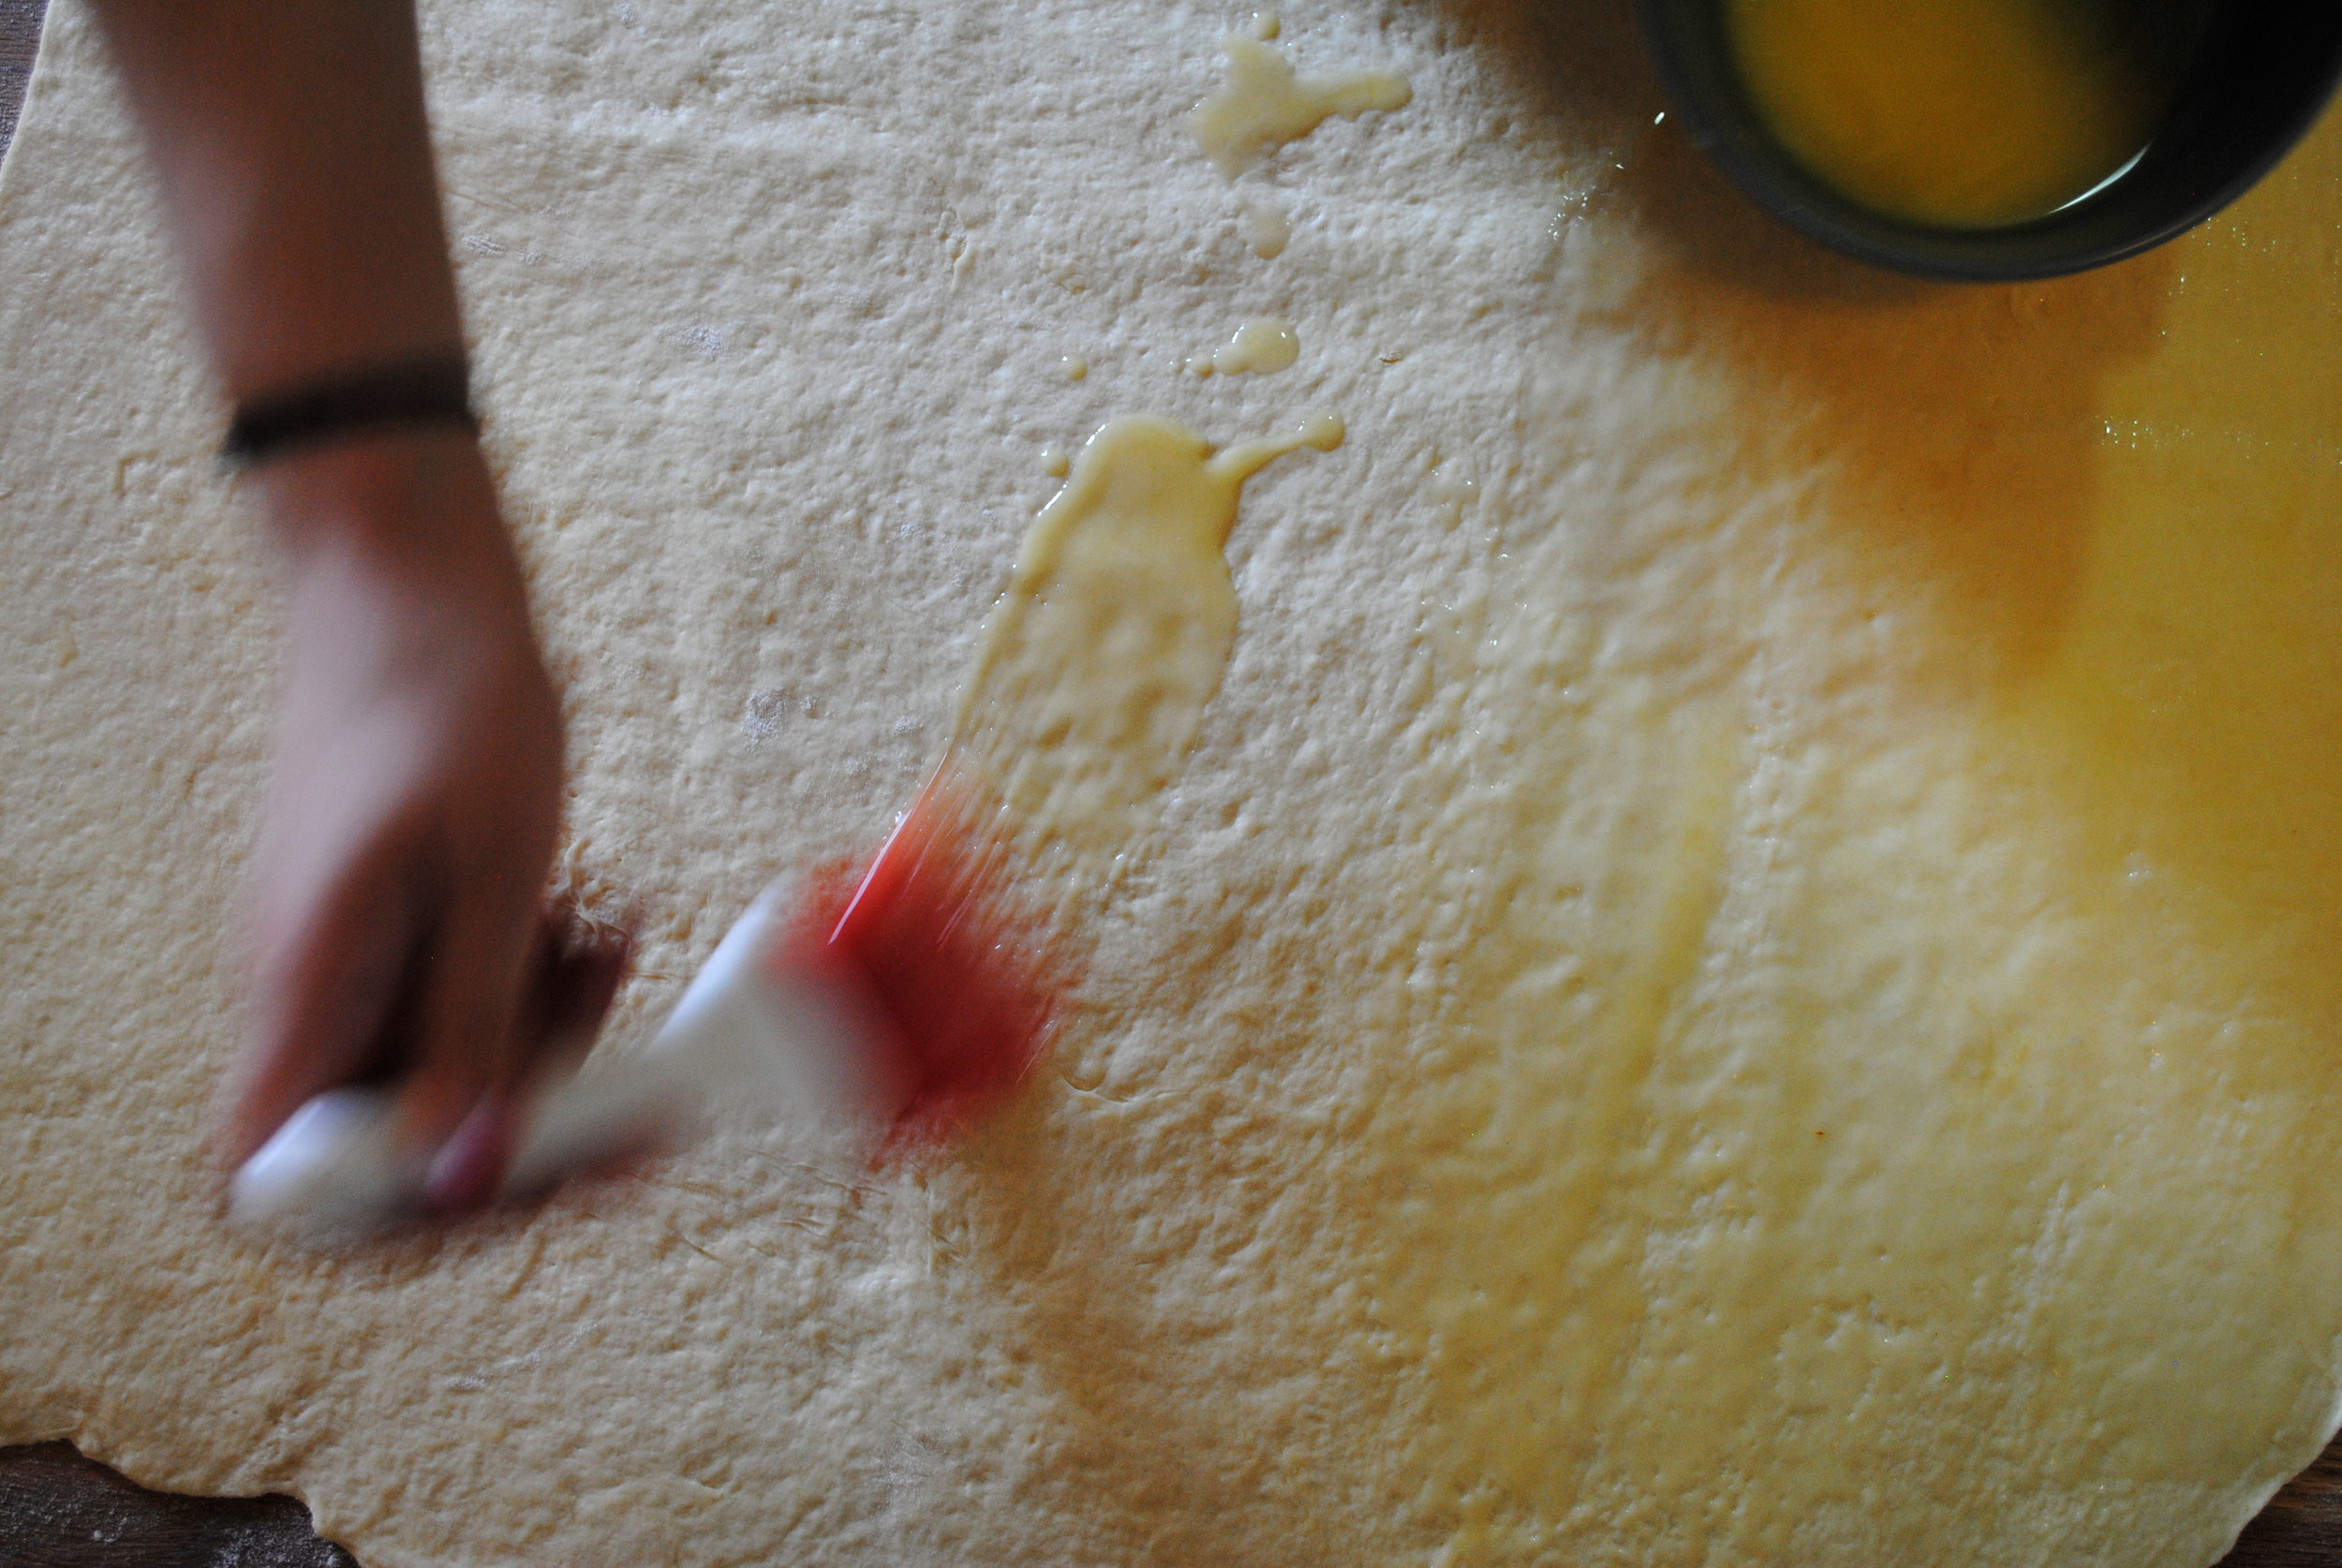
Transfer the dough to a lightly floured surface and roll into a thin rectangle. The thinner your dough is, the more layers you'll get. See the pictures above for how thin your dough should be.
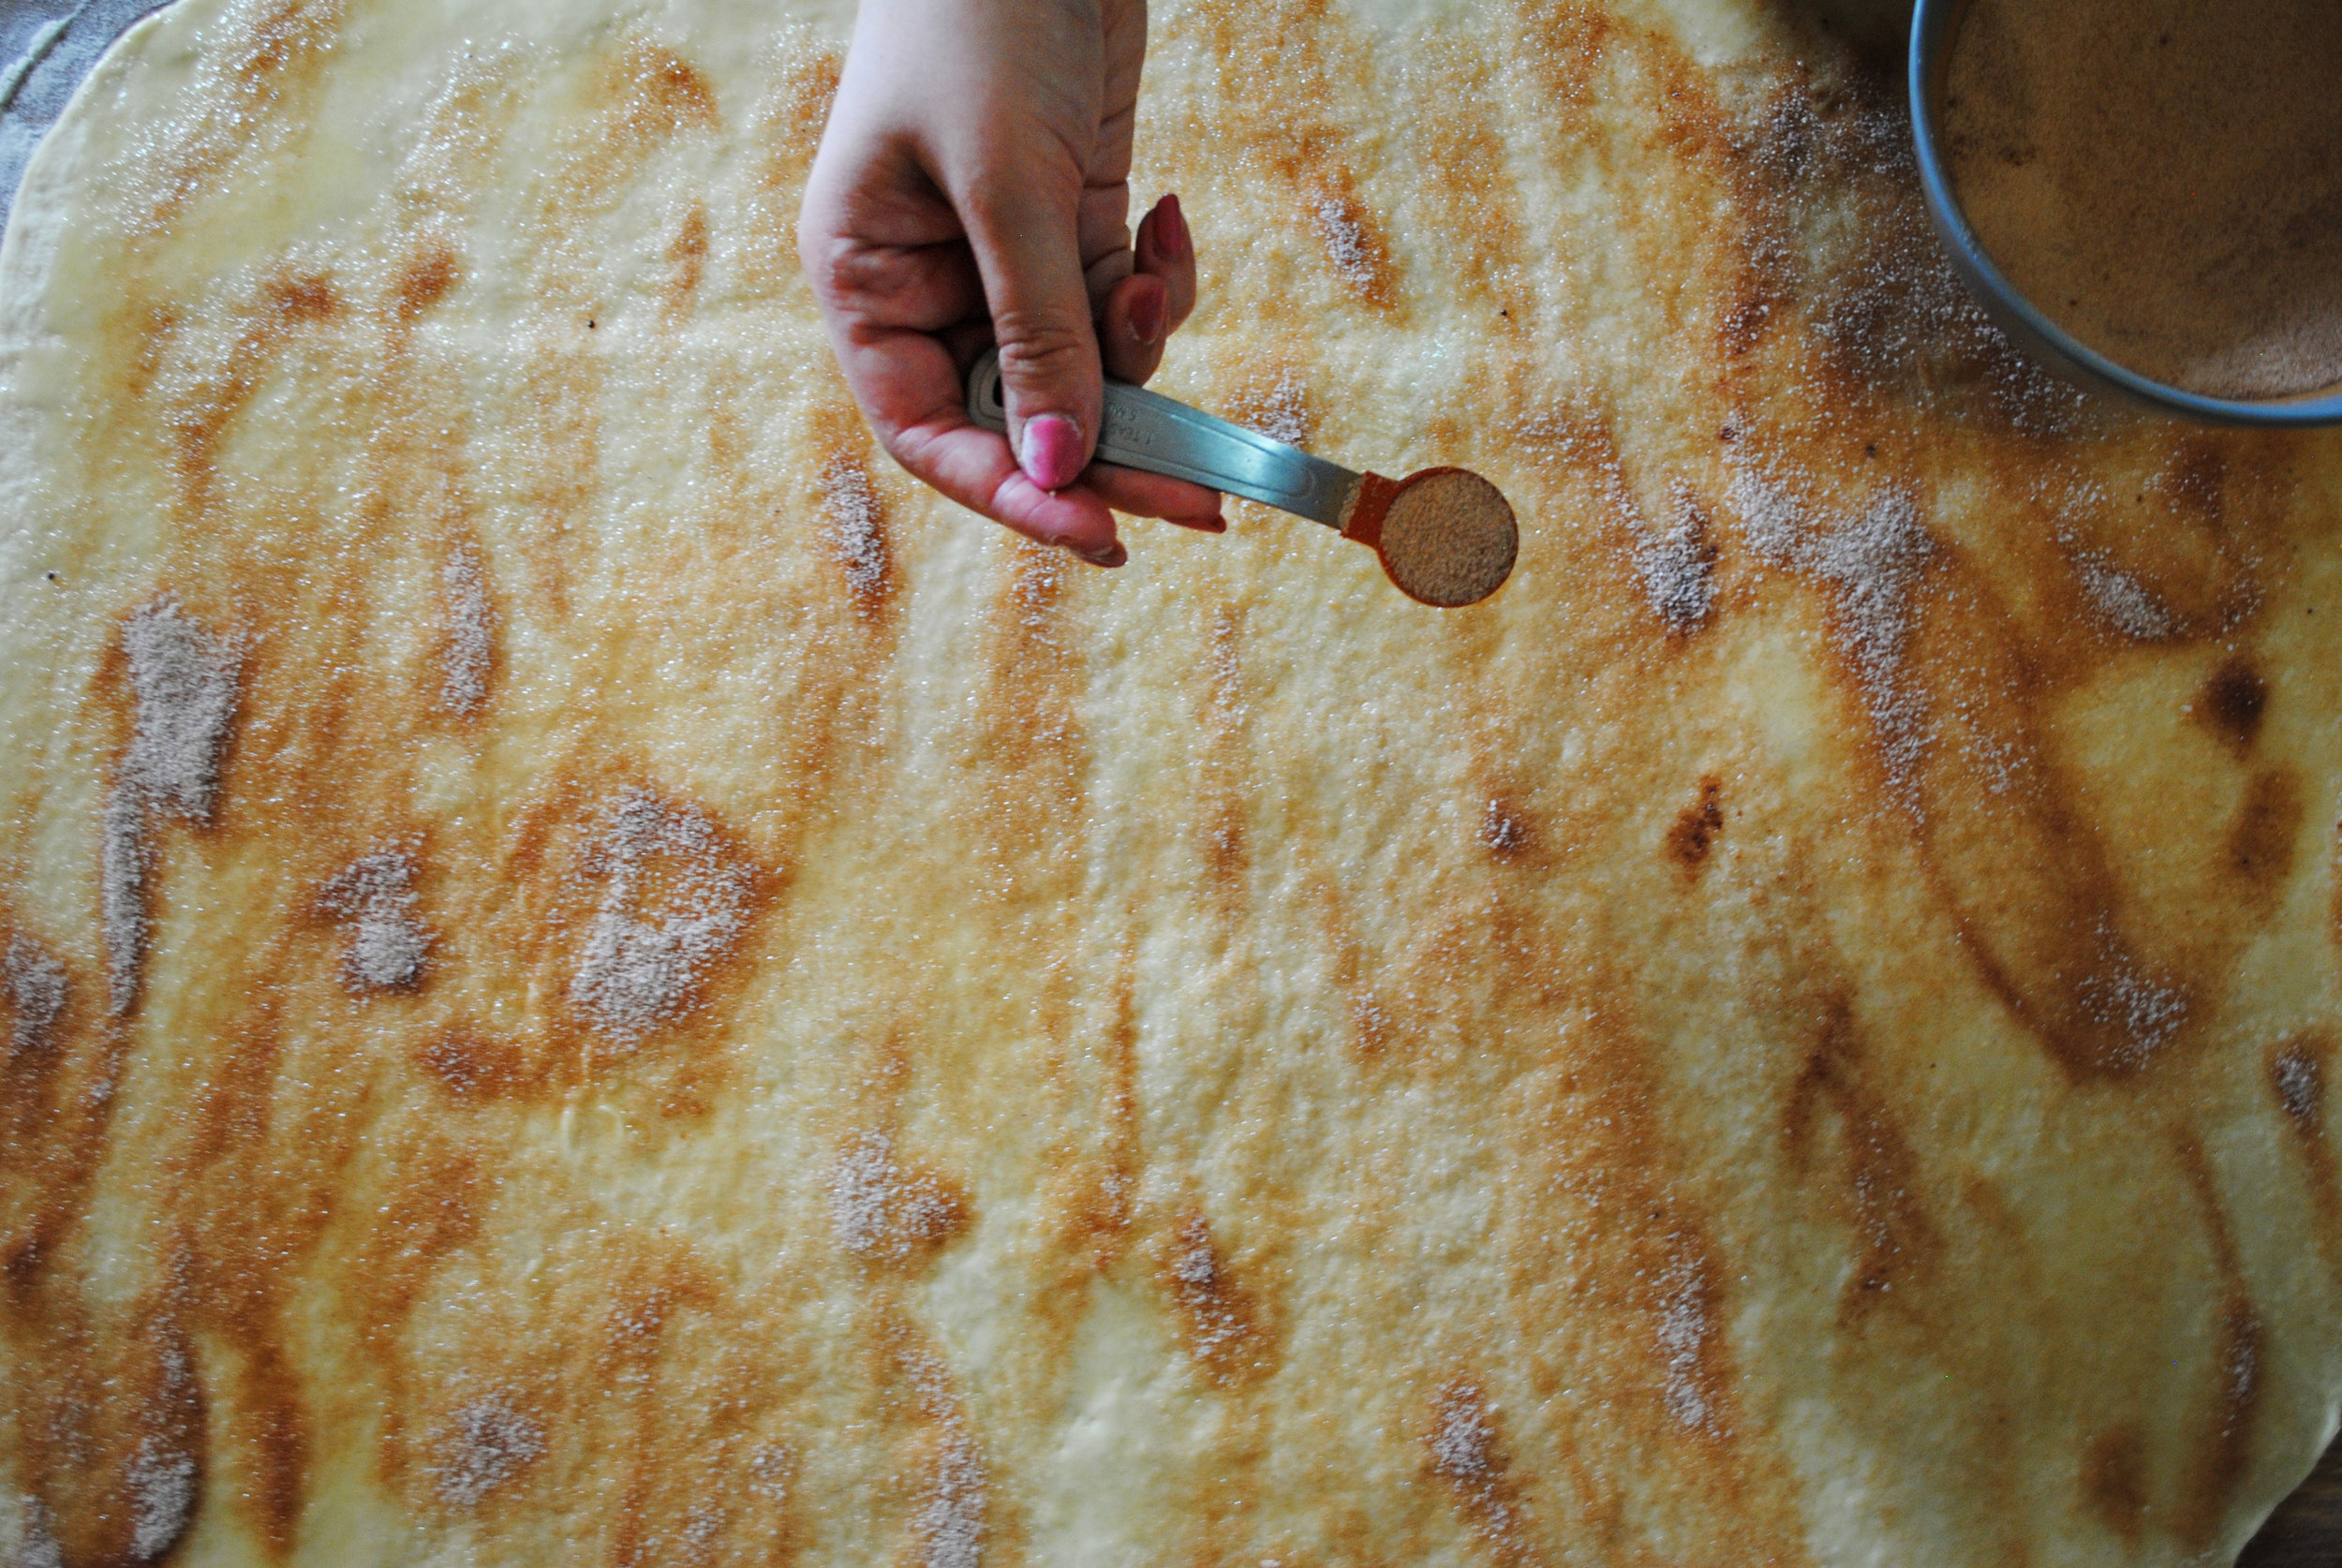
Melt 6 tablespoons of butter and brush onto the rectangle. Use a pastry brush so that you can really spread it evenly. Next, sprinkle a mixture of ½ cup sugar and 1 ½-2 tablespoons of cinnamon evenly over the dough.
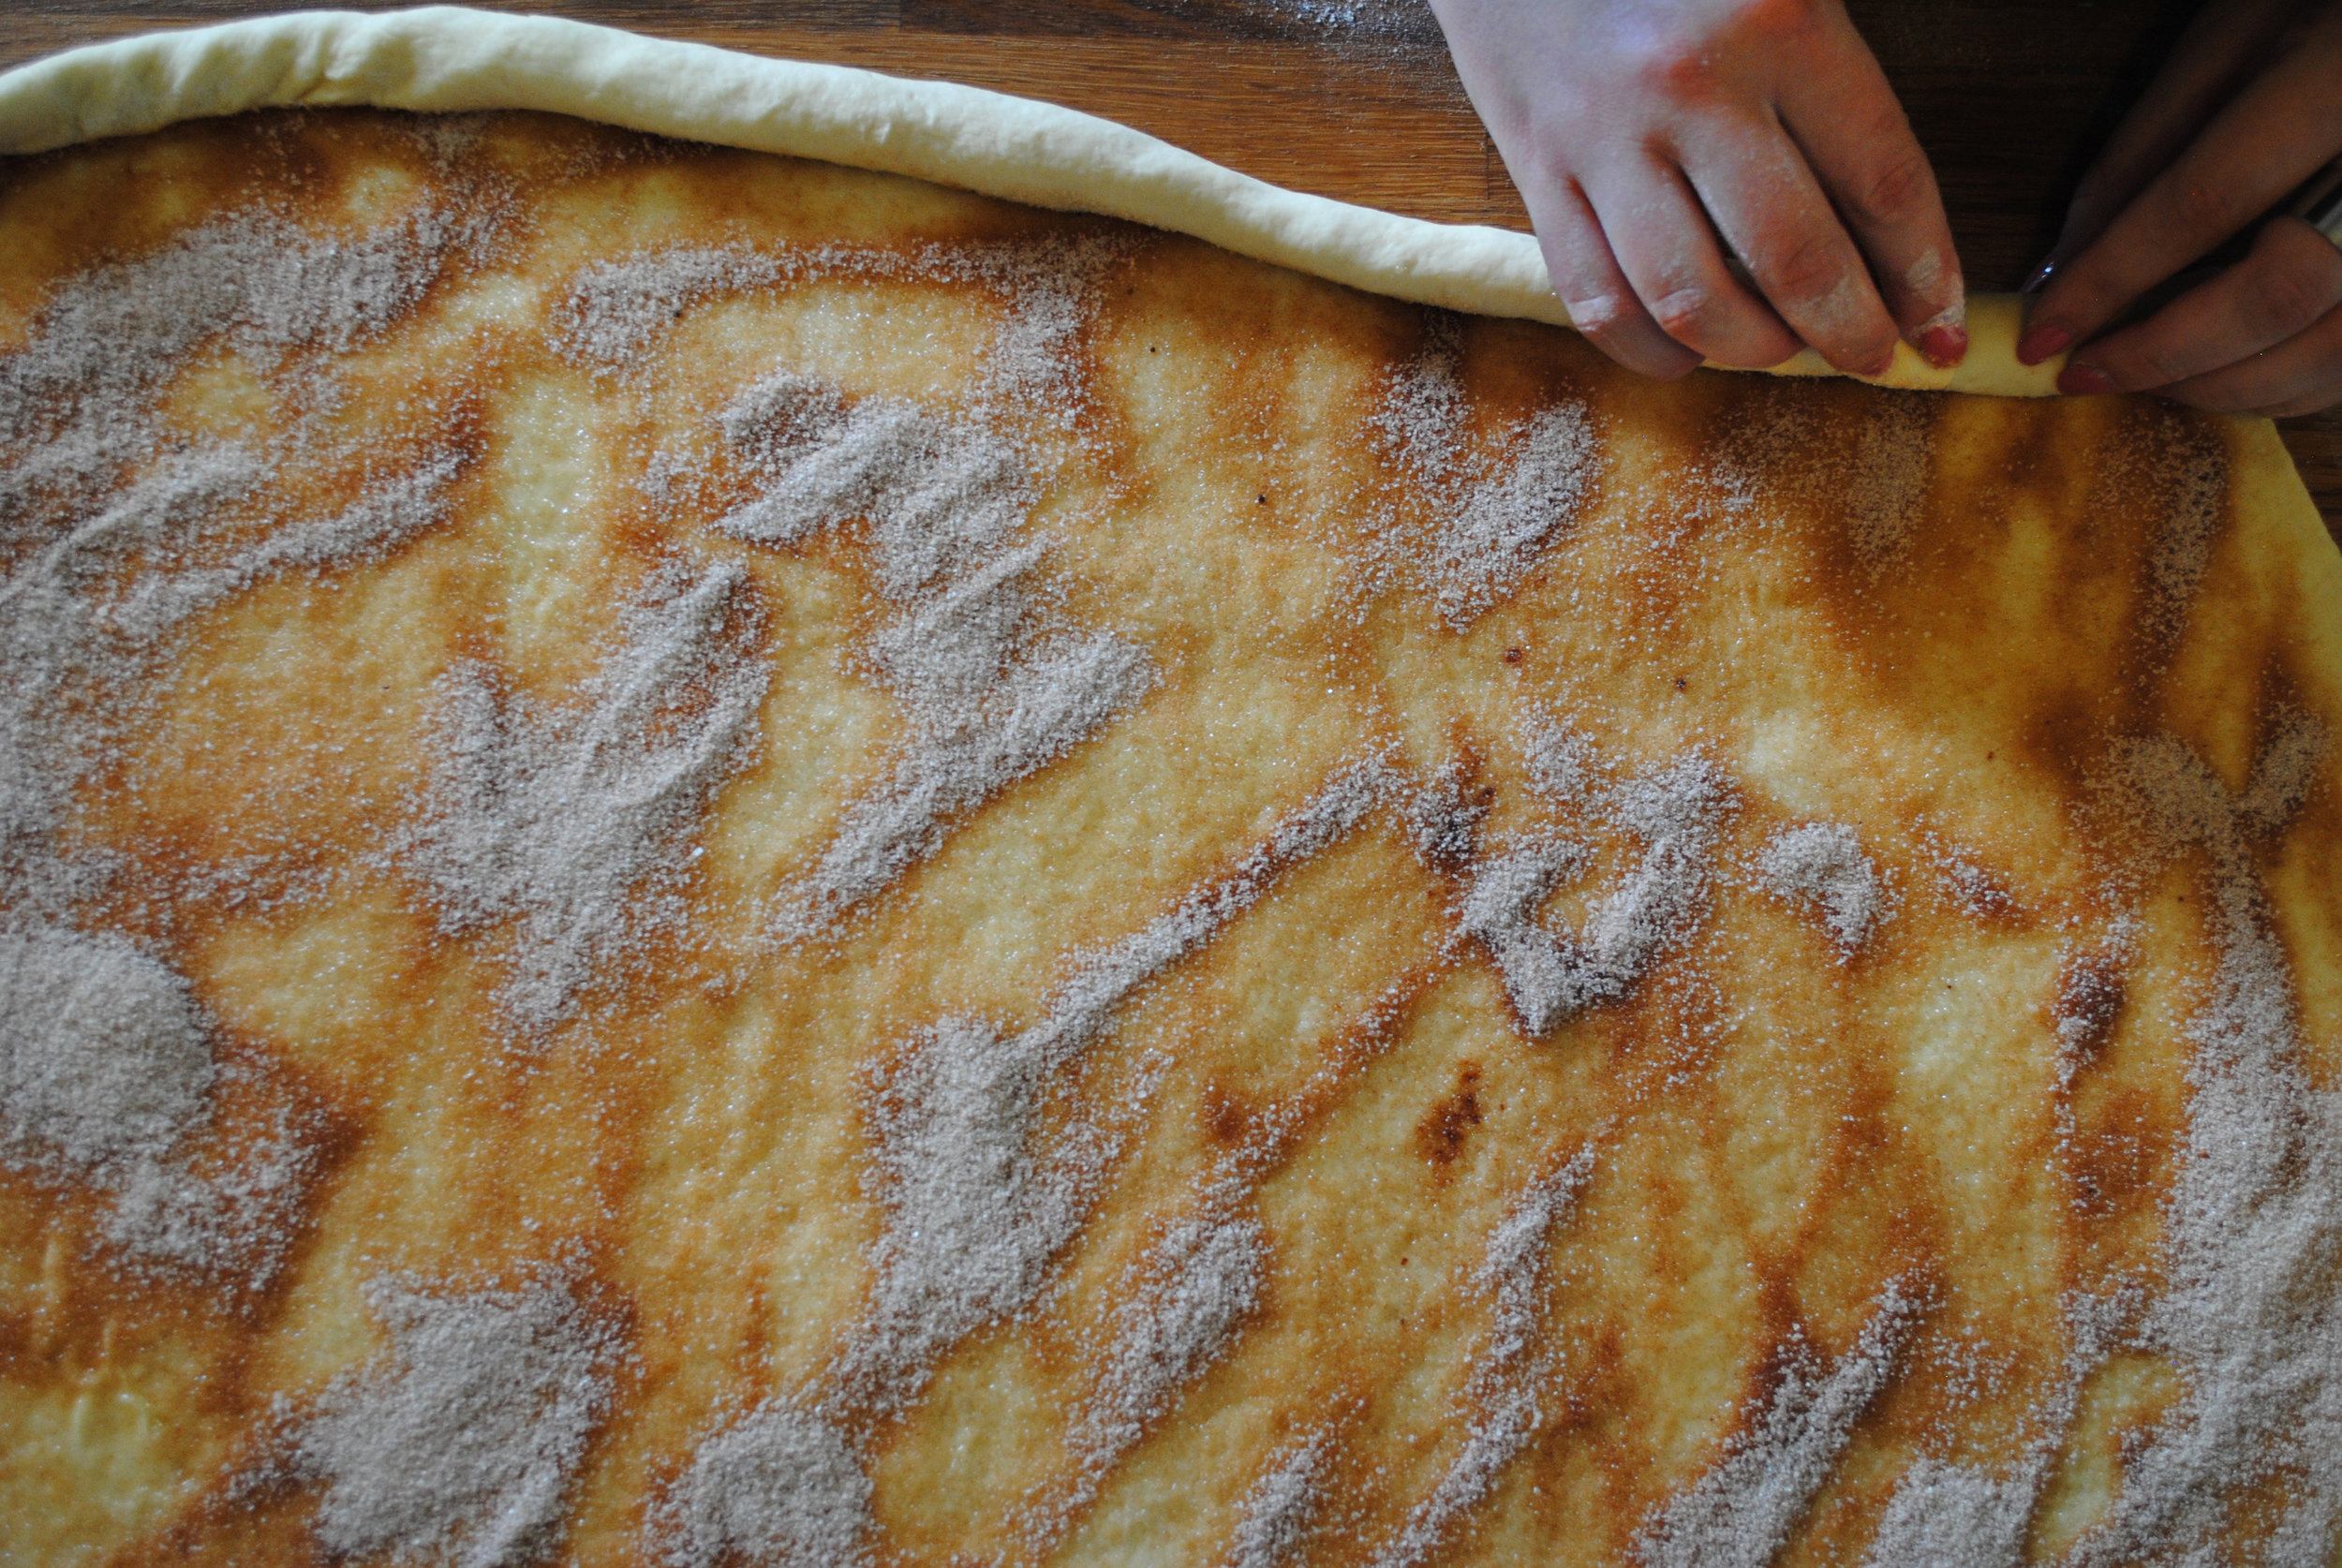
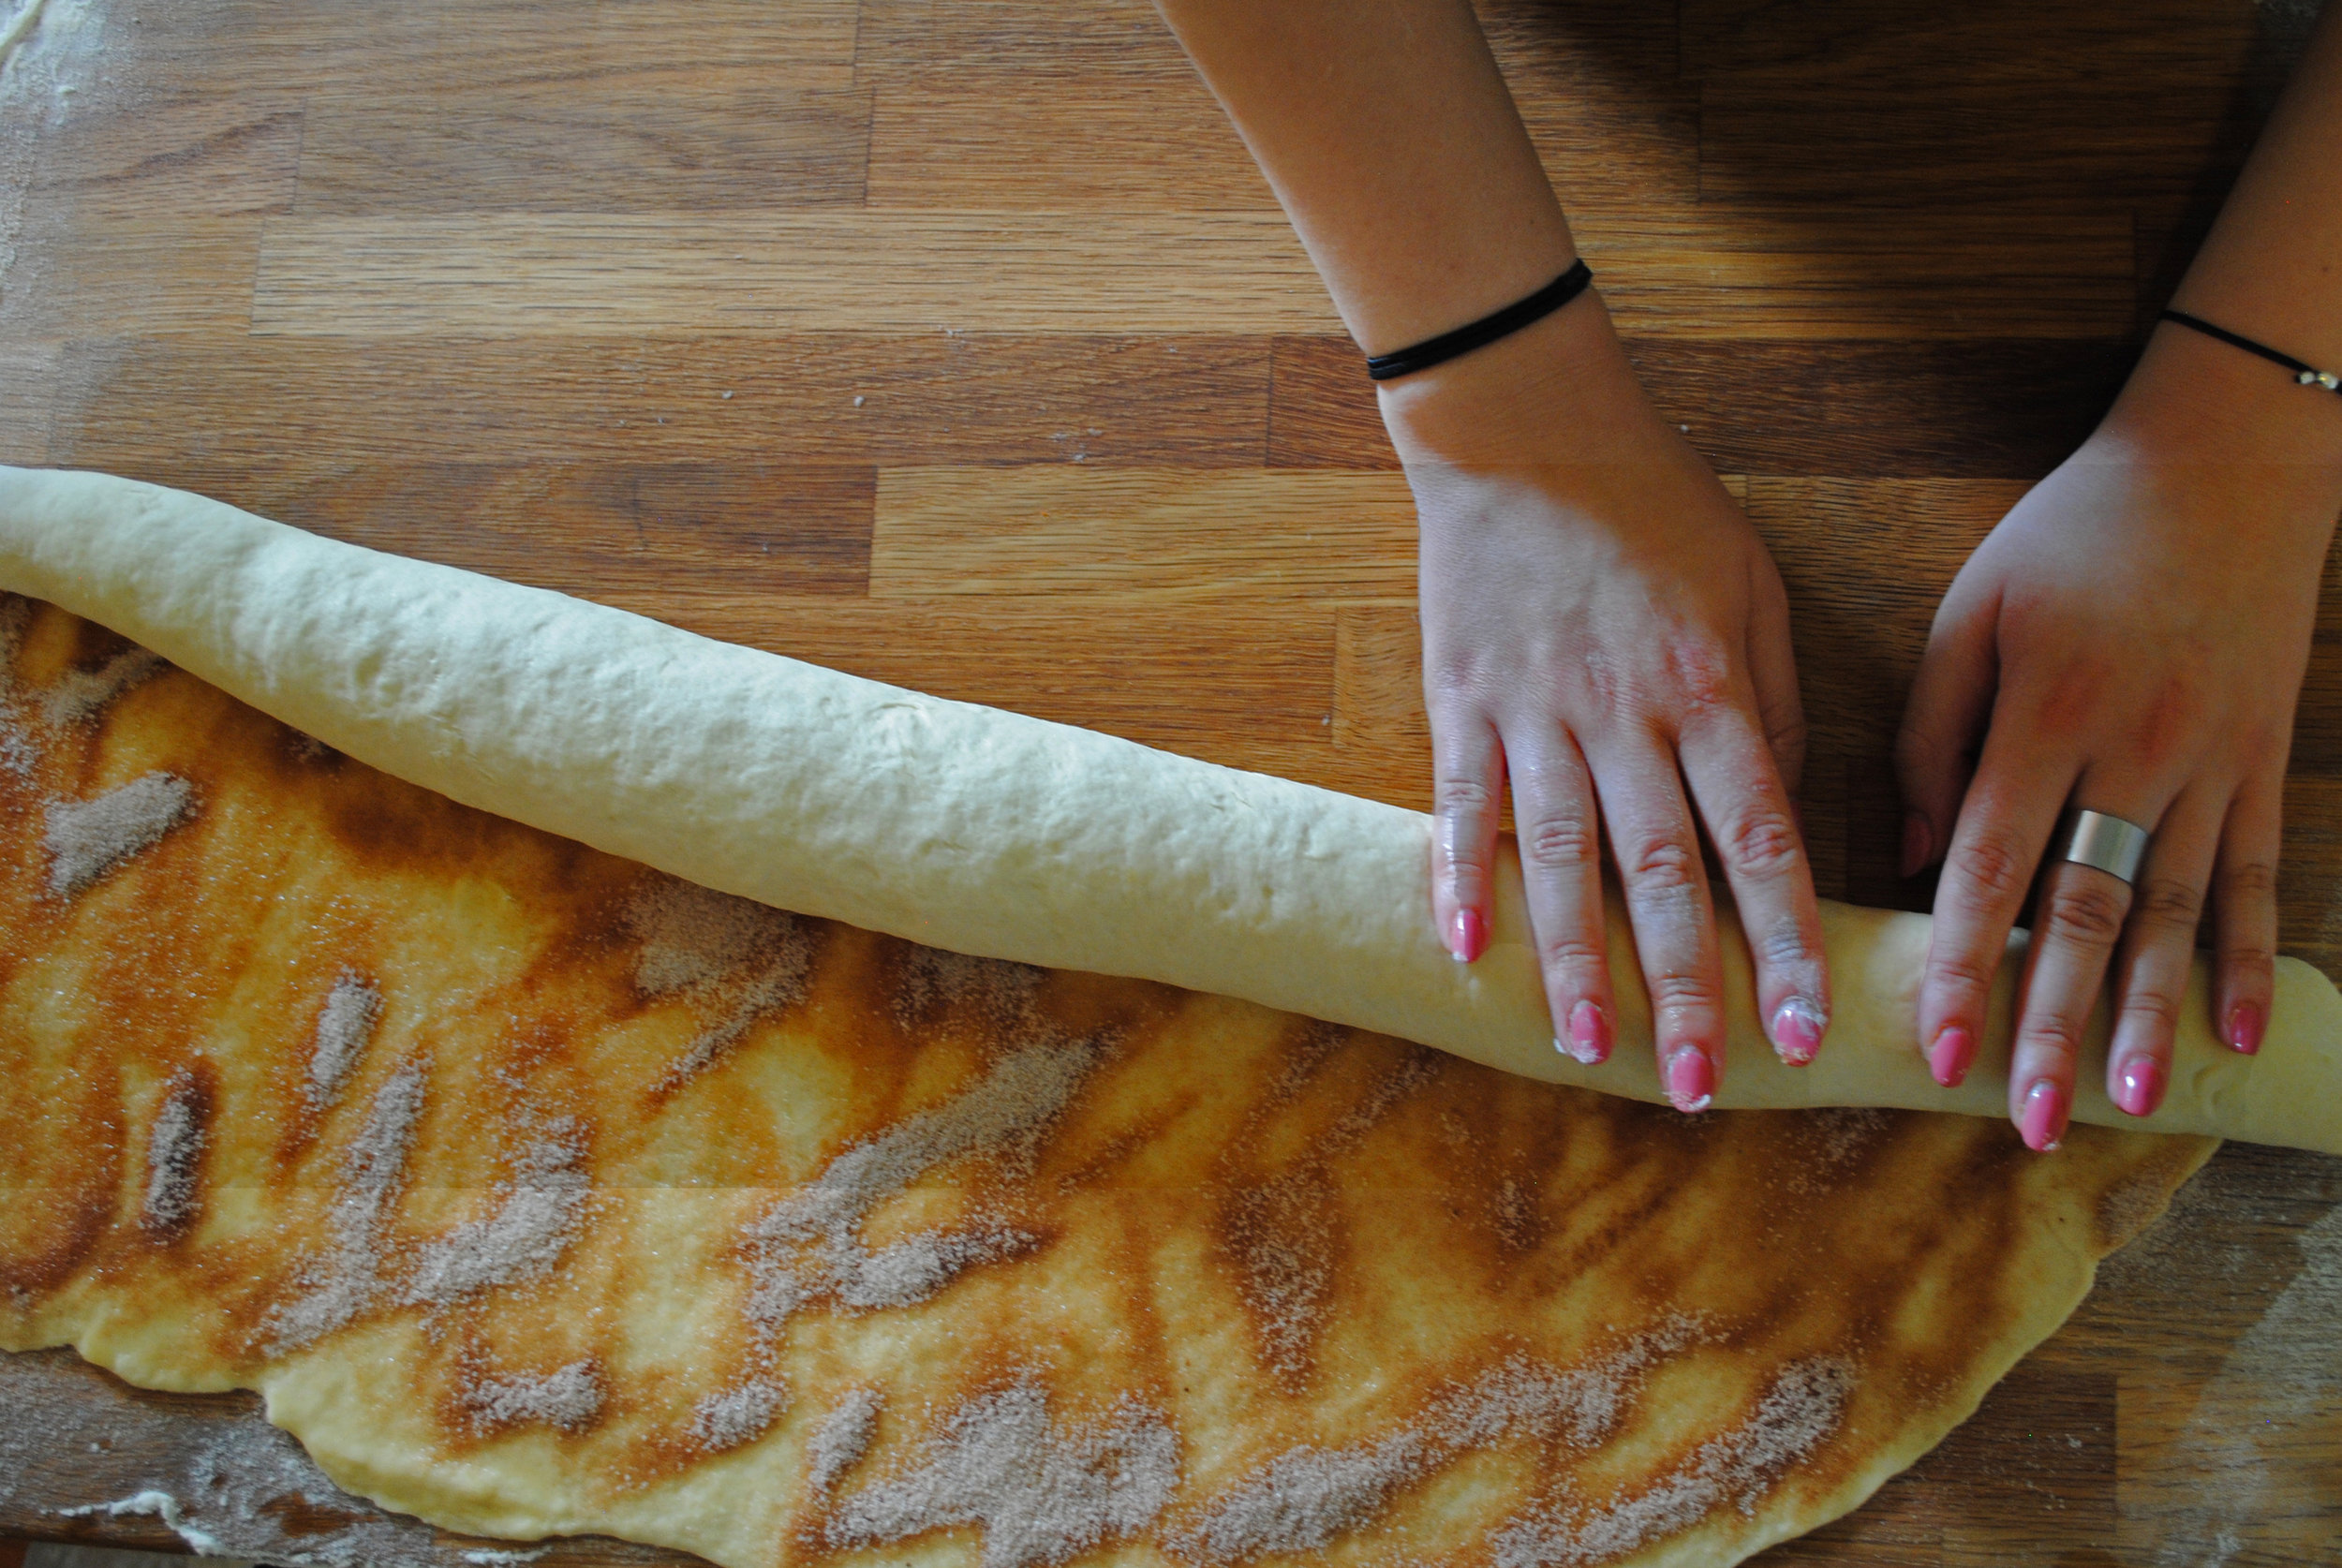
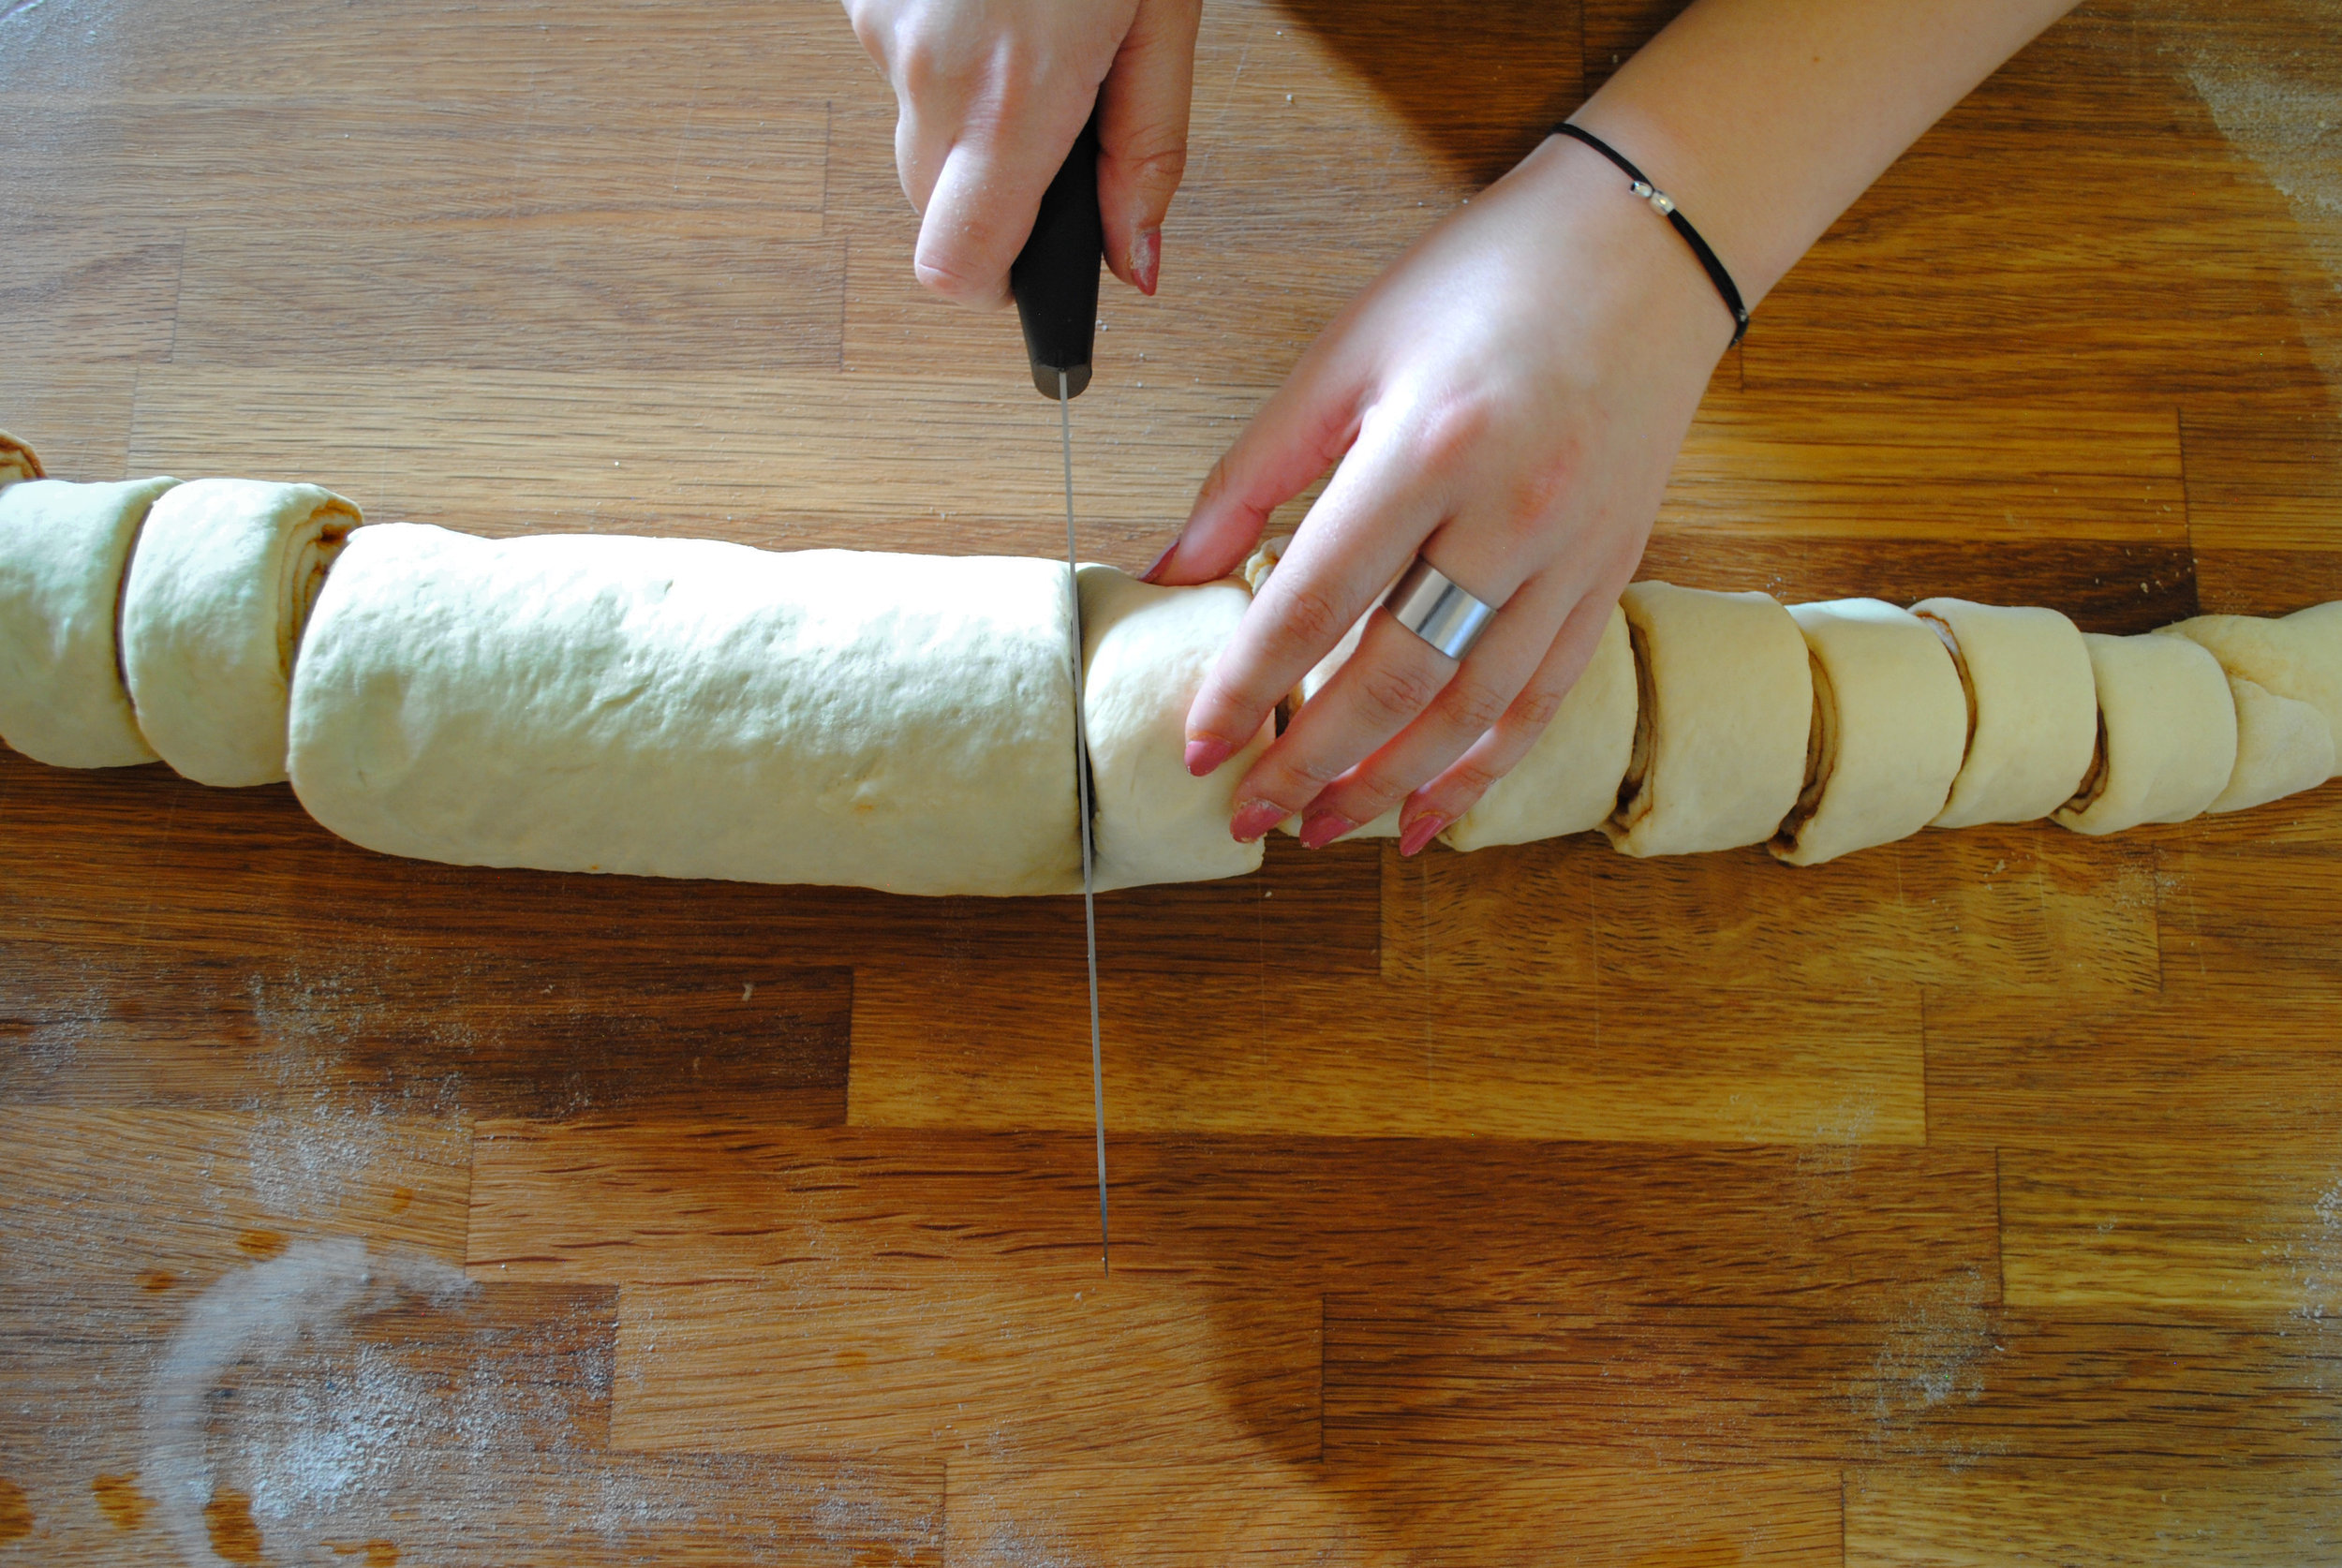
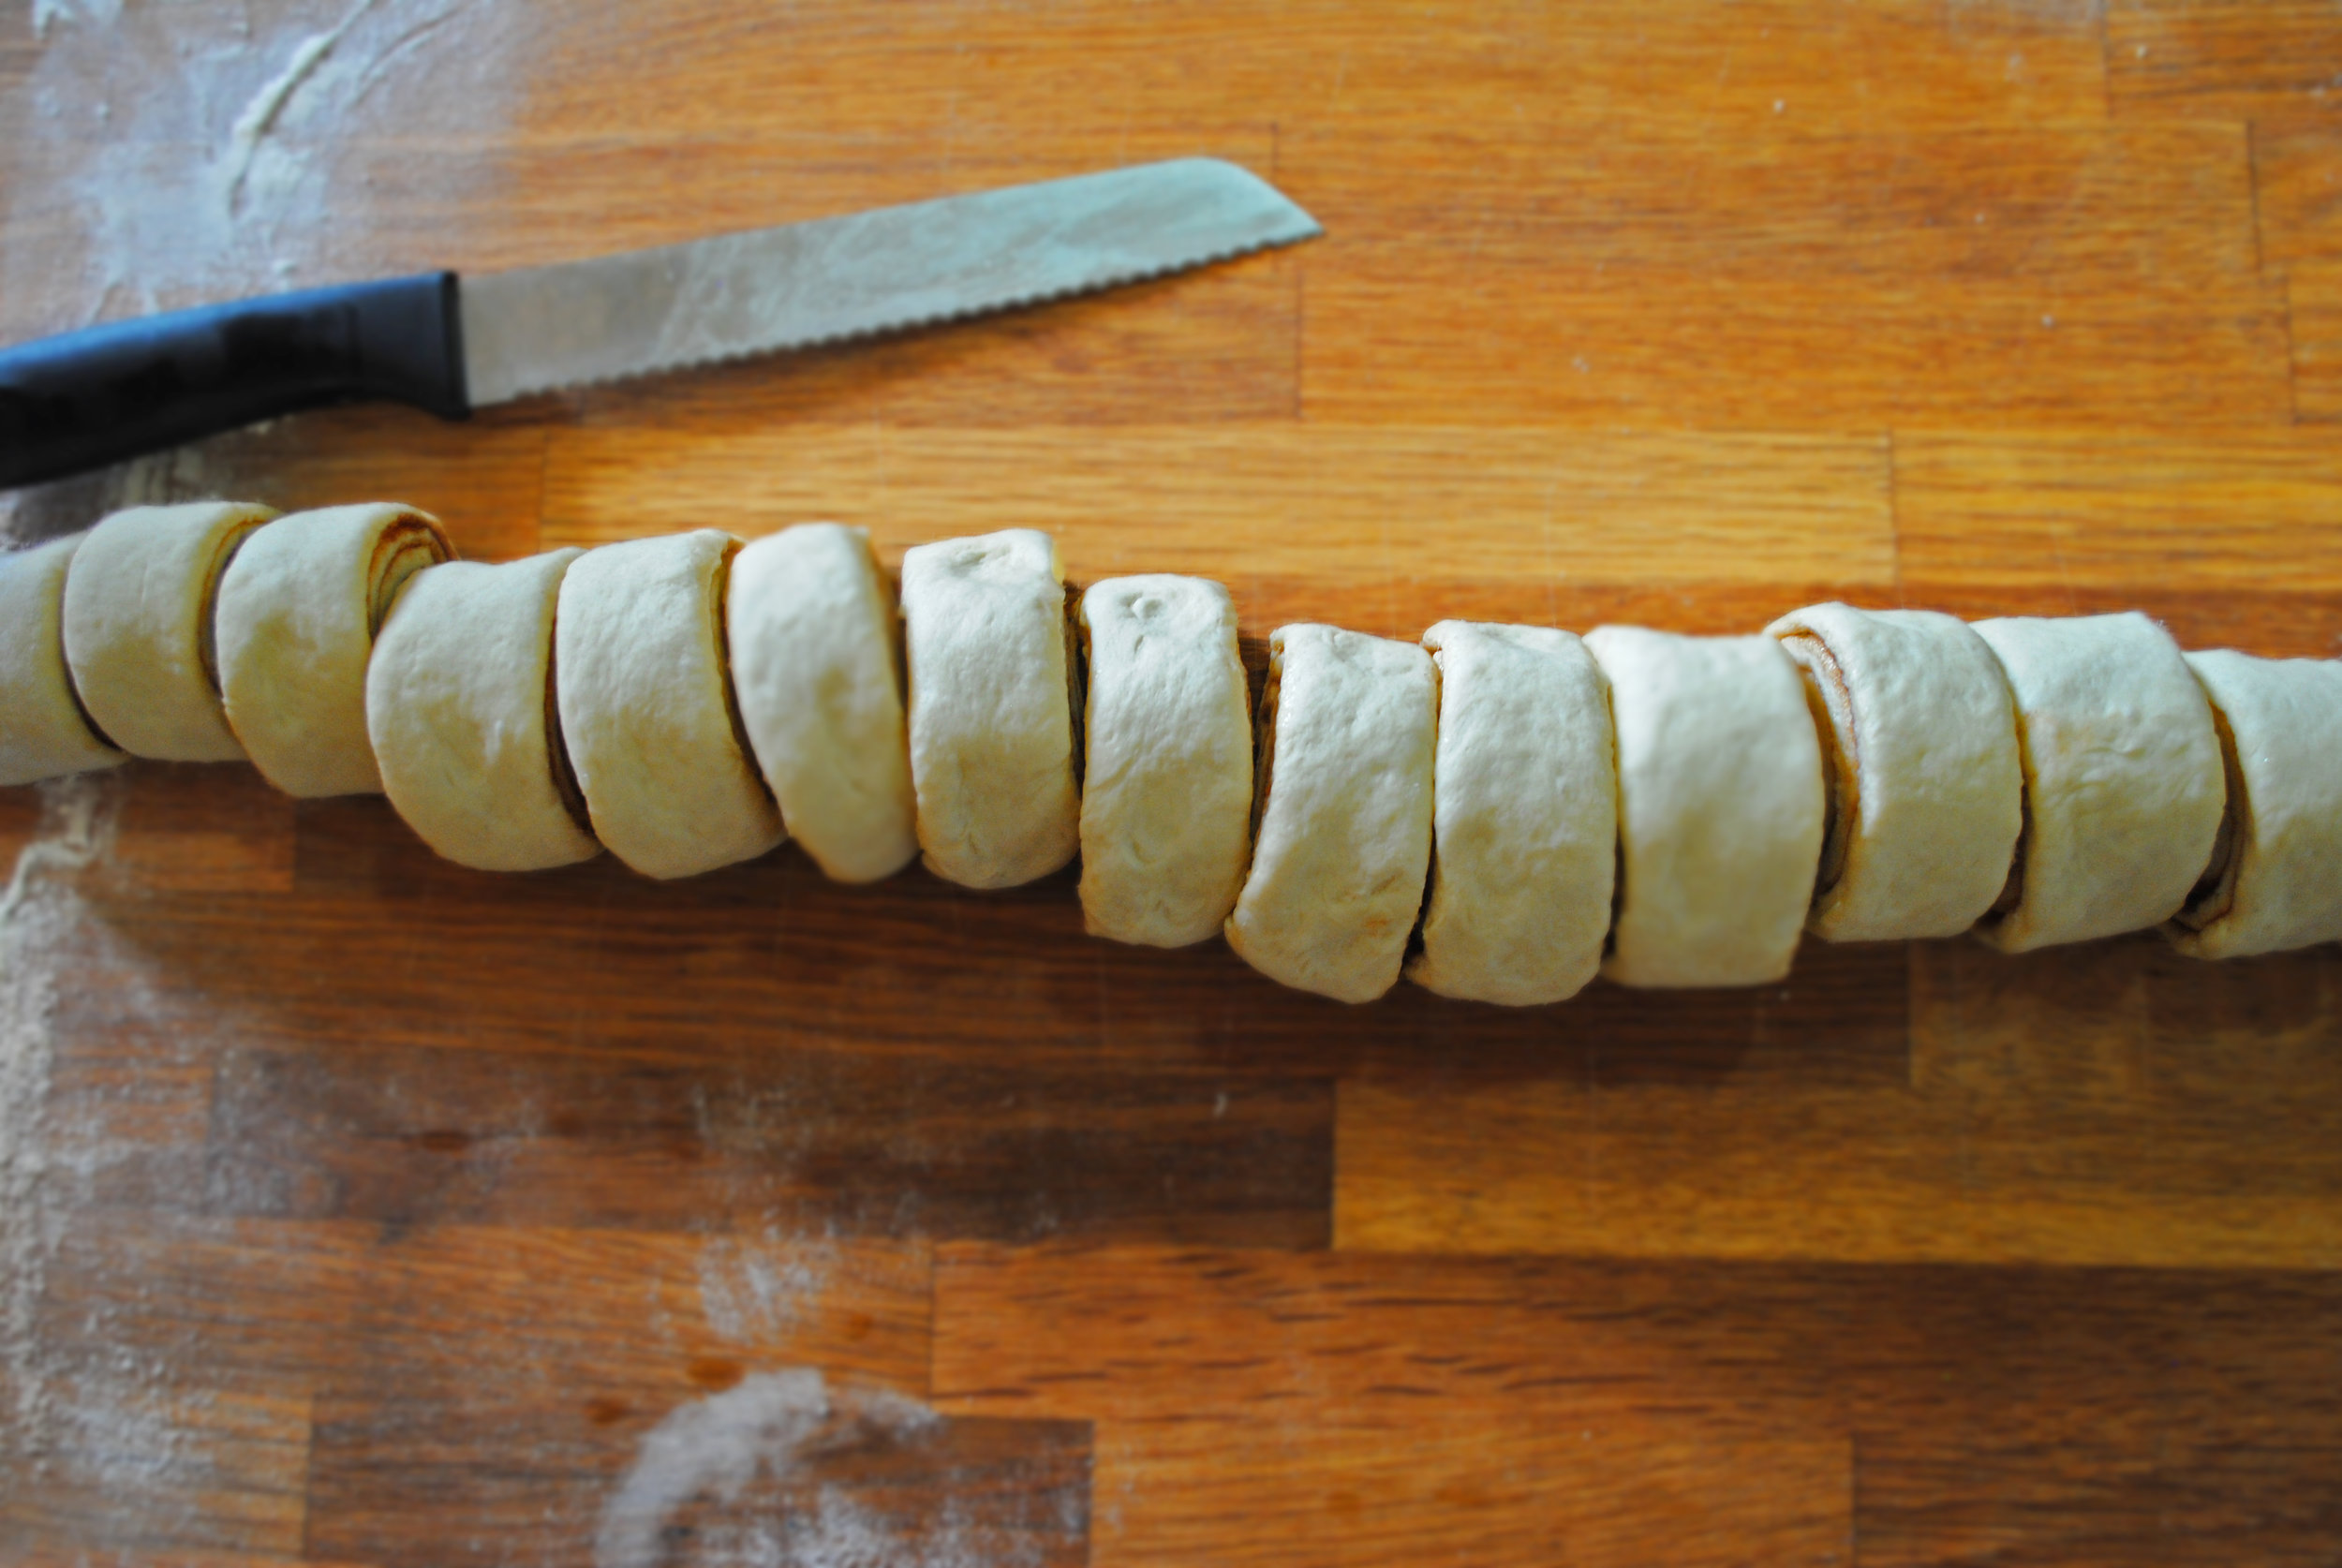
Roll the dough into a long snake. Starting on one side of the dough, slowly roll the dough into a snake shape. Work slowly, and move from side to side to make sure both sides are even. The pictures above are a good reference. Once you have a nice, fat snake, carefully turn the dough so that the seam (where the dough overlaps on itself) is down on your surface. Use a serrated knife to cut the rolls - move the knife back and forth, rather than straight down. This way they won't squish, although even if they do you can always shape them back into their rightful spheres.
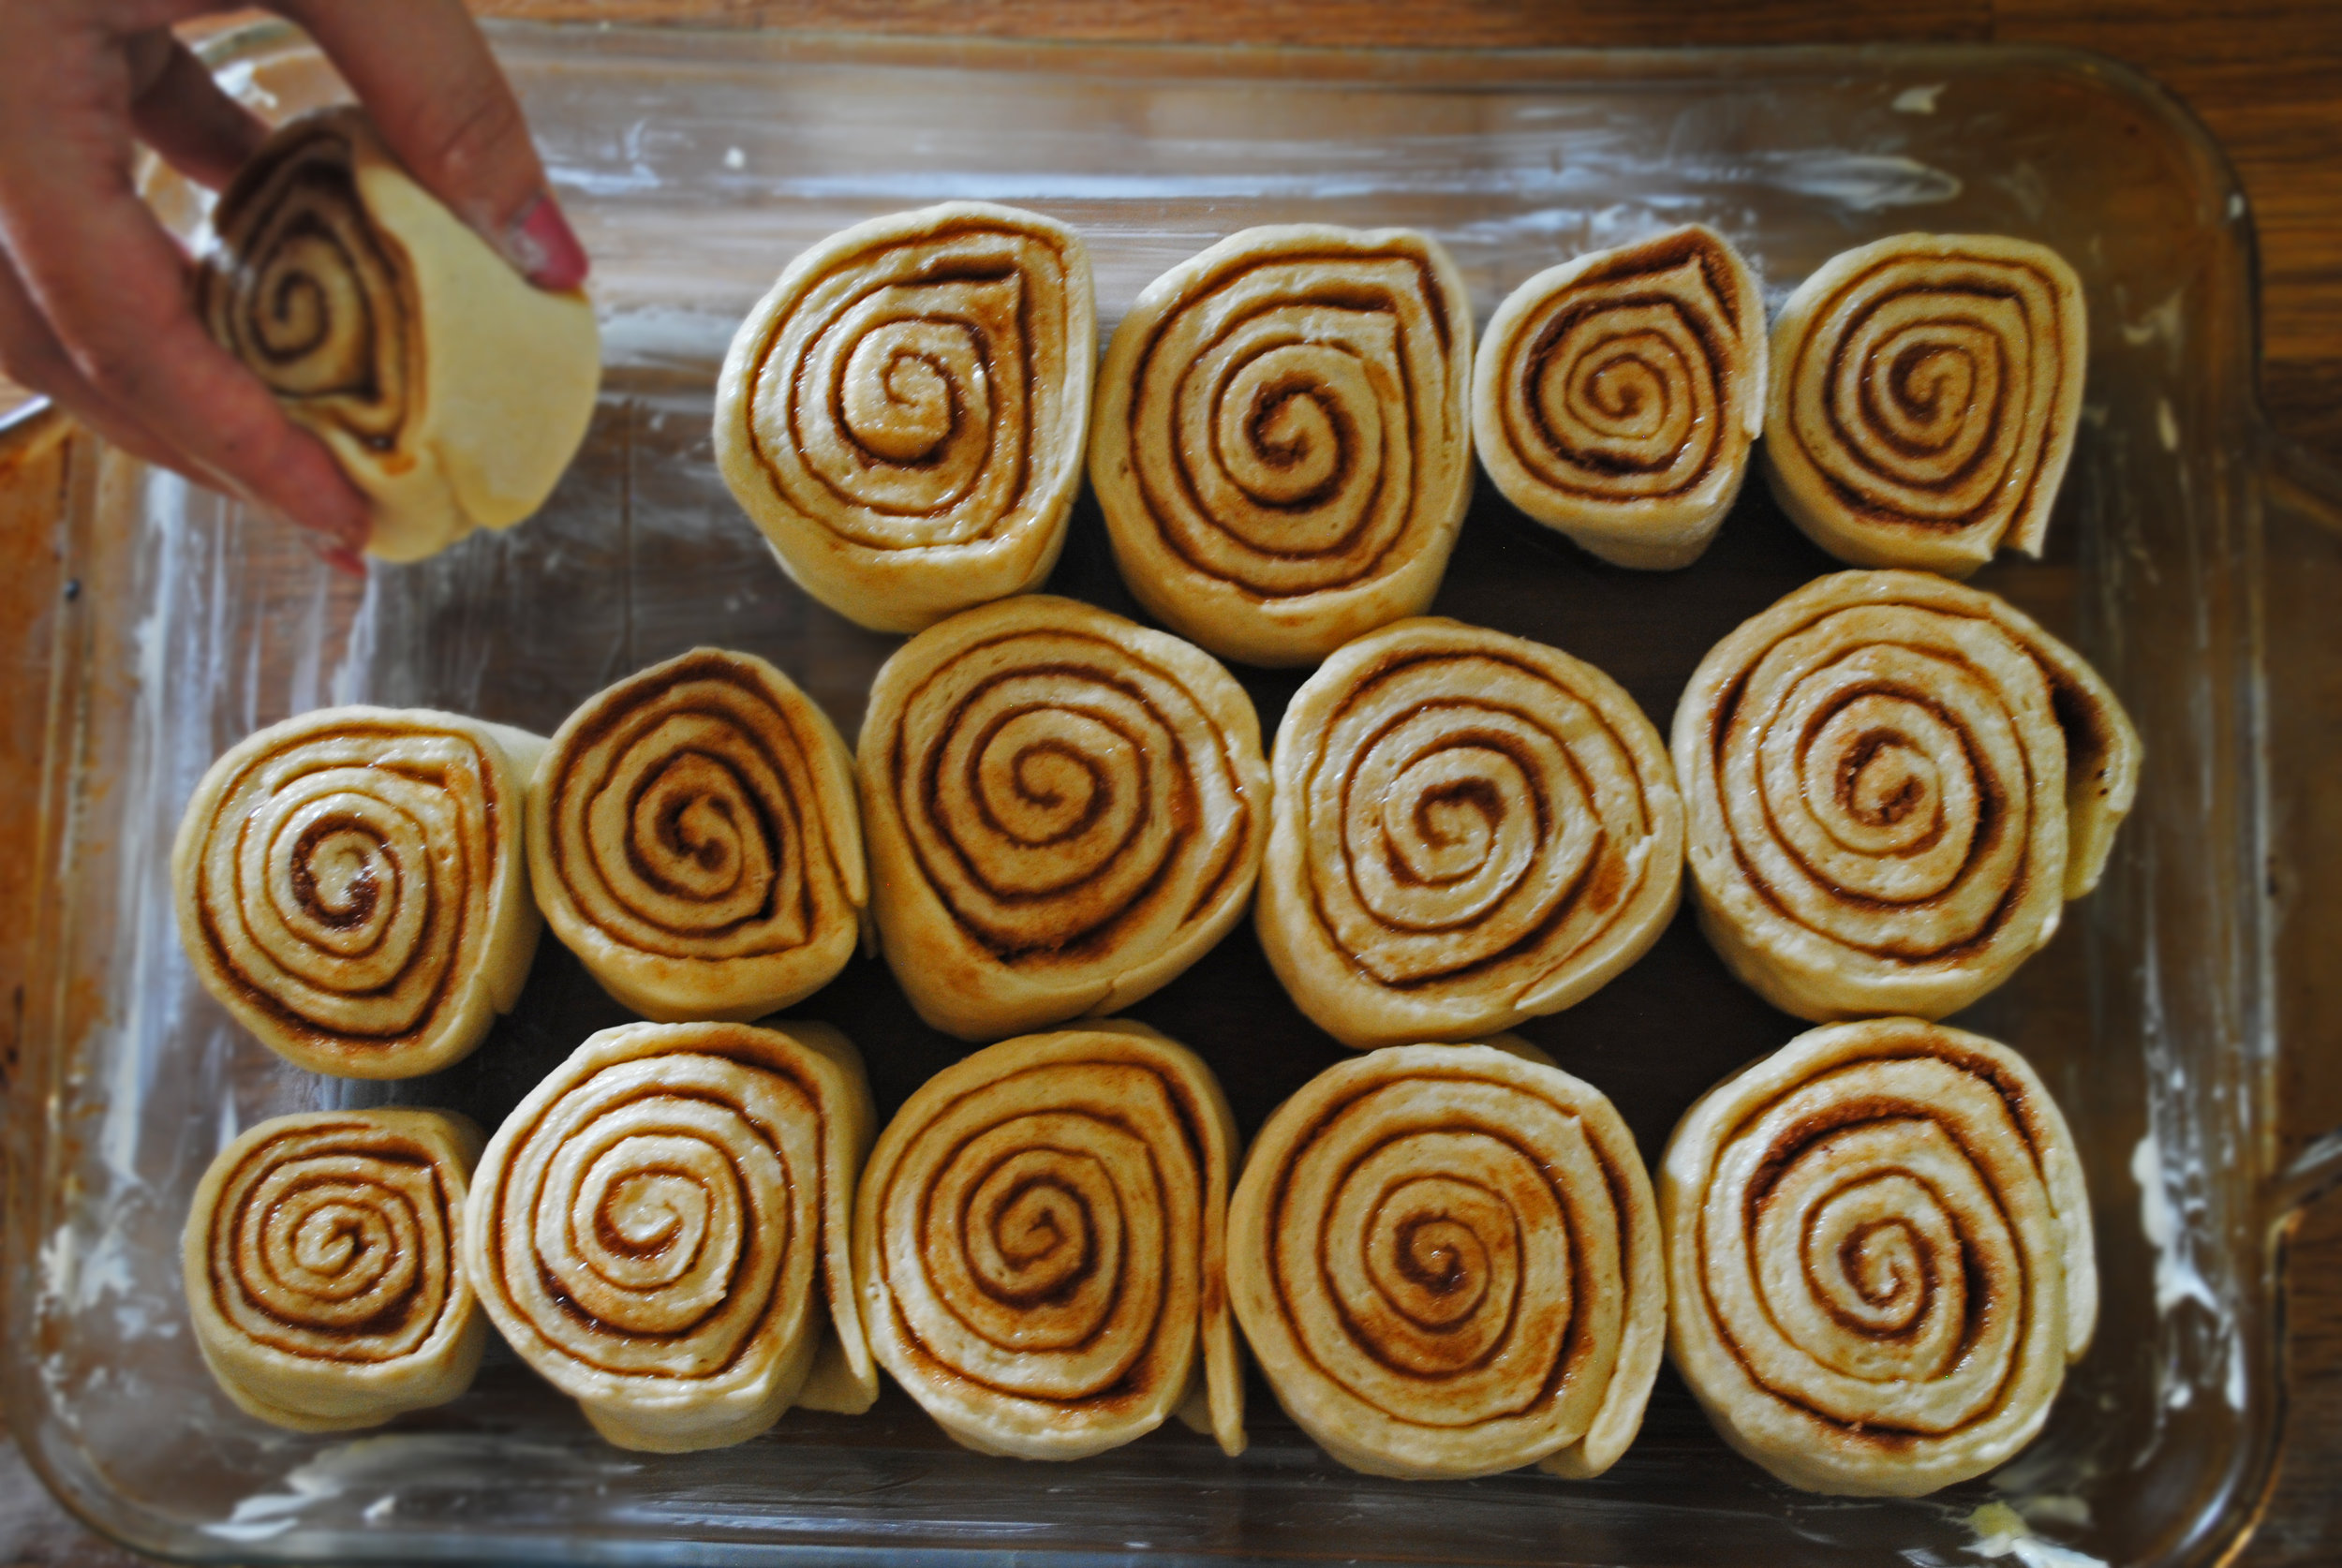
Grease a 13 x 25 baking dish and place your rolls inside. Melt 3 tablespoons of butter and brush onto the buns. Place the buns, covered, on top of your oven while you preheat it to 350 F. Bake for 25-30 minutes, and take them out when they start to go all goldeny-brown. My oven bakes my rolls at precisely 27 minutes, if that helps.
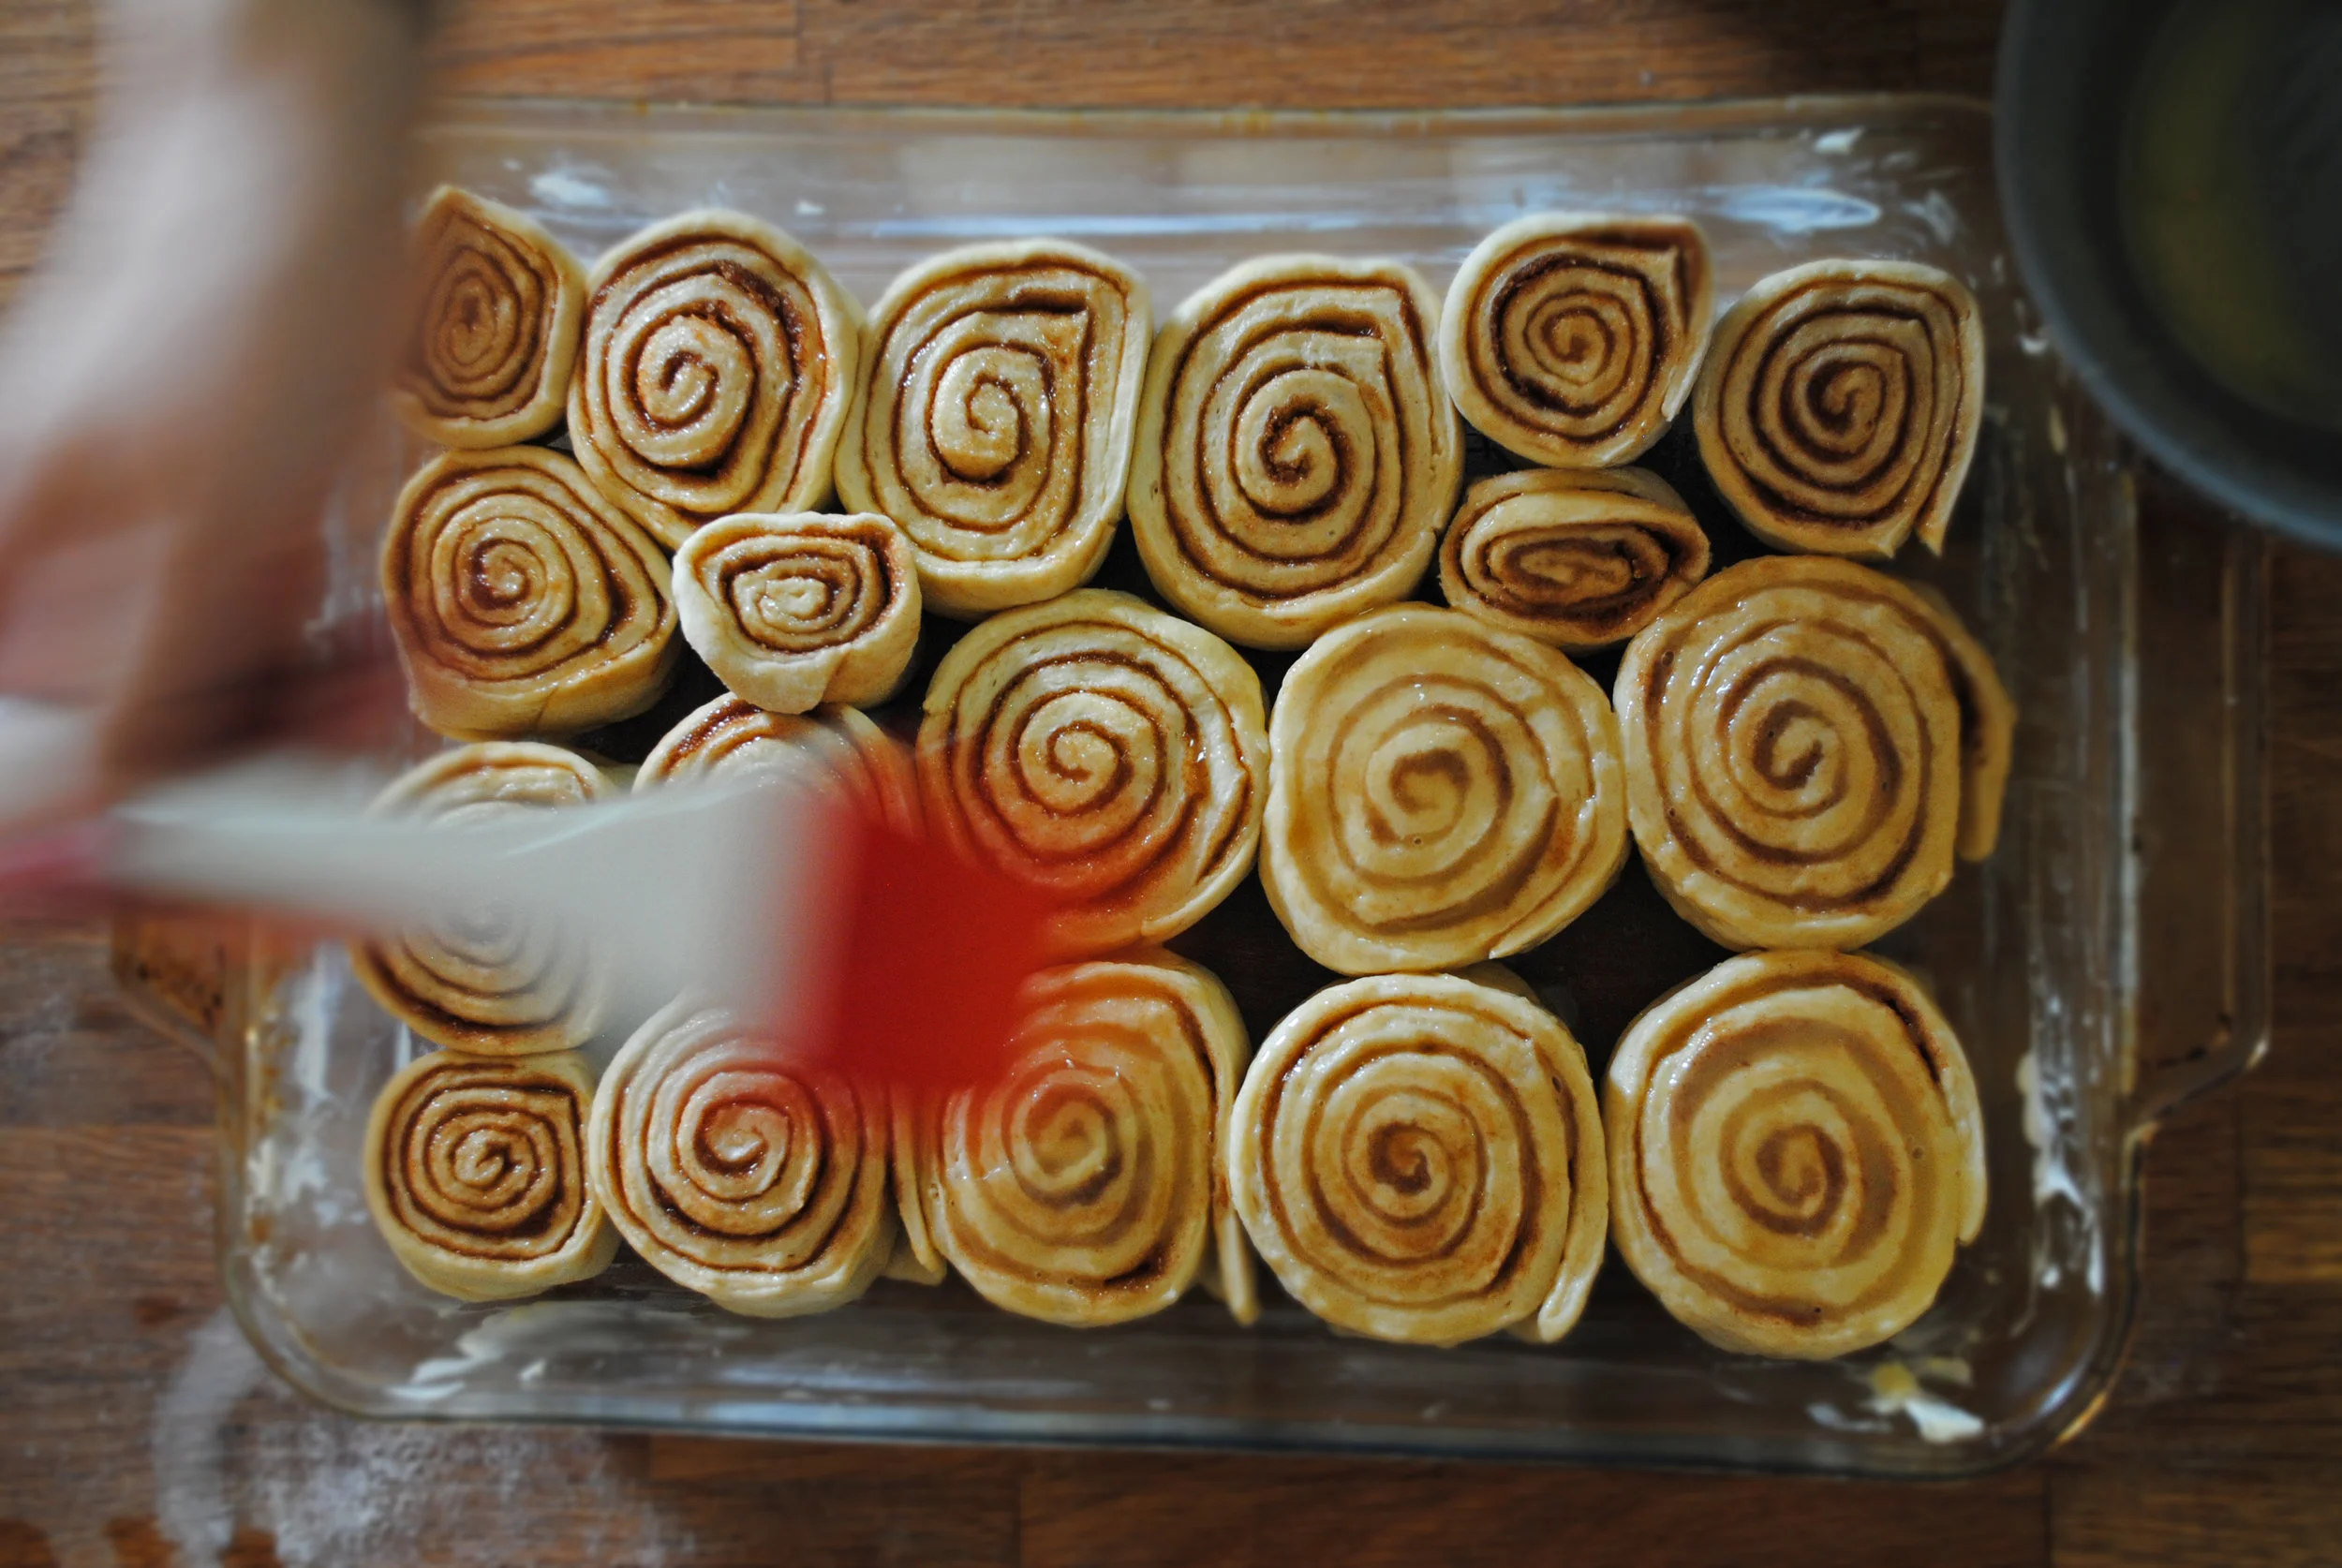
To serve: Once the rolls are out of the oven, cool for a few minutes and then dig right in. I highly recommend glazing them with a simple mix of 2 cups powdered sugar with some vanilla and 2 or so tablespoons of dairy-free milk, depending on how thick or thin you want your glaze.
To keep: This kind of dough doesn't last for so long because it has the tendency to dry out, but if you cover them really well they can last for a few days. I don't see that happening, because these will be gone lightening fast, but cover with plastic wrap or foil if the impossible happens.